With winter arriving, the flavors of peppermint and mocha are starting to finally arrive. I am a sucker for anything peppermint mocha, maybe even more so than I am for a good pumpkin flavor. In order to properly celebrate the coming of winter, I decided to create some peppermint mocha cake pops for a party I went to recently. While they were a bit consuming to make, they turned out amazing and my daughter had a lot of fun helping me make them (and eat them!).

*This post may contain affiliate links. If you make a purchase through one of these, I will receive a commission at no extra cost to you*
Peppermint Mocha Cake Pops
So, traditionally, cake pops are made with scraps of cake left over after decorating, or so I have been told. Personally, I baked an entire cake to be used for these peppermint mocha cake pops. These are a semi-homemade version of a delicious winter treat that I usually pick up whenever I am in Starbucks this time of the year. I say semi-homemade because I use a box cake mix and some pre-made frosting instead of fully making my own.
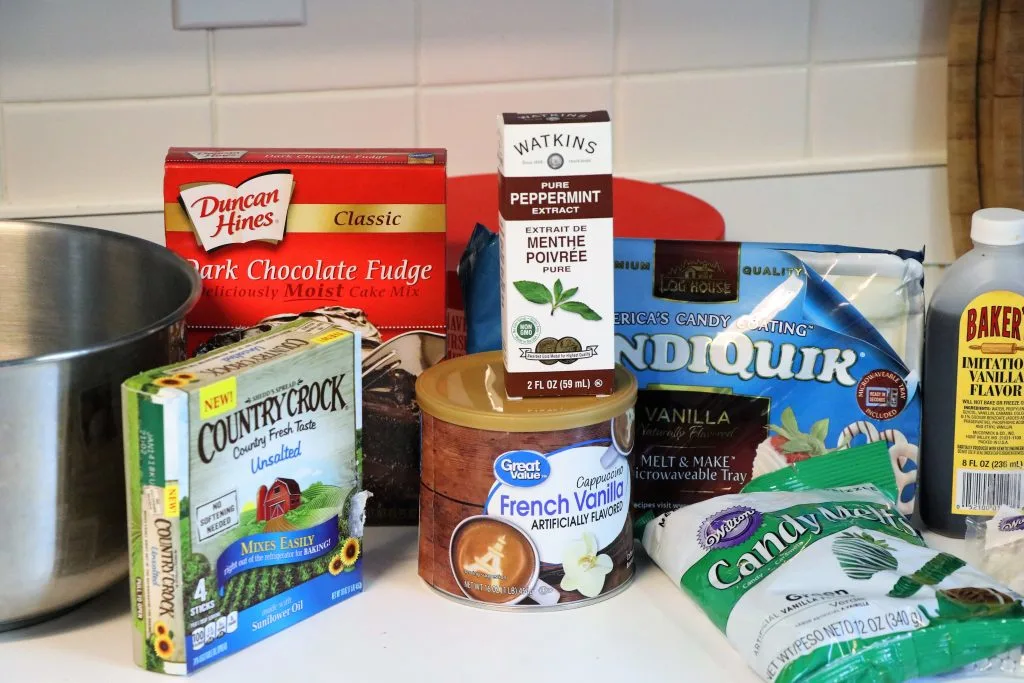
Ingredients
As you can see, it does take quite a few ingredients to make these delicious treats. Don’t be freaked out by the lengthy list though, while it may seem overwhelming at first, it really isn’t that bad once you get into it. Many of these I had in my pantry already. I am not going to list them all out here, but there is a printable version with all of the ingredients down below for your convenience!
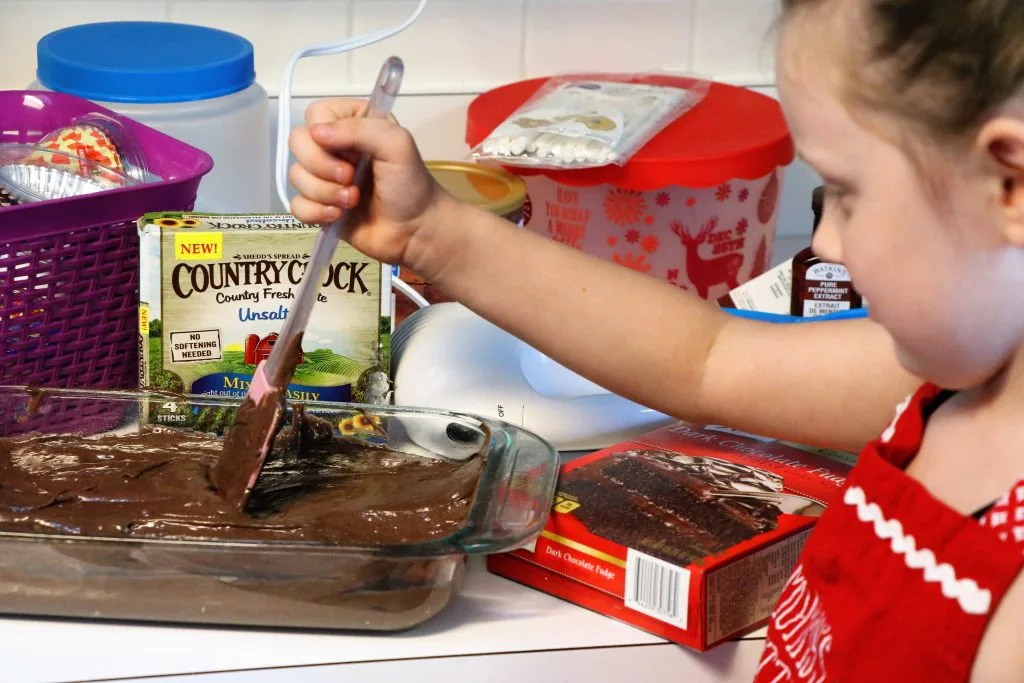
Make Your Cake
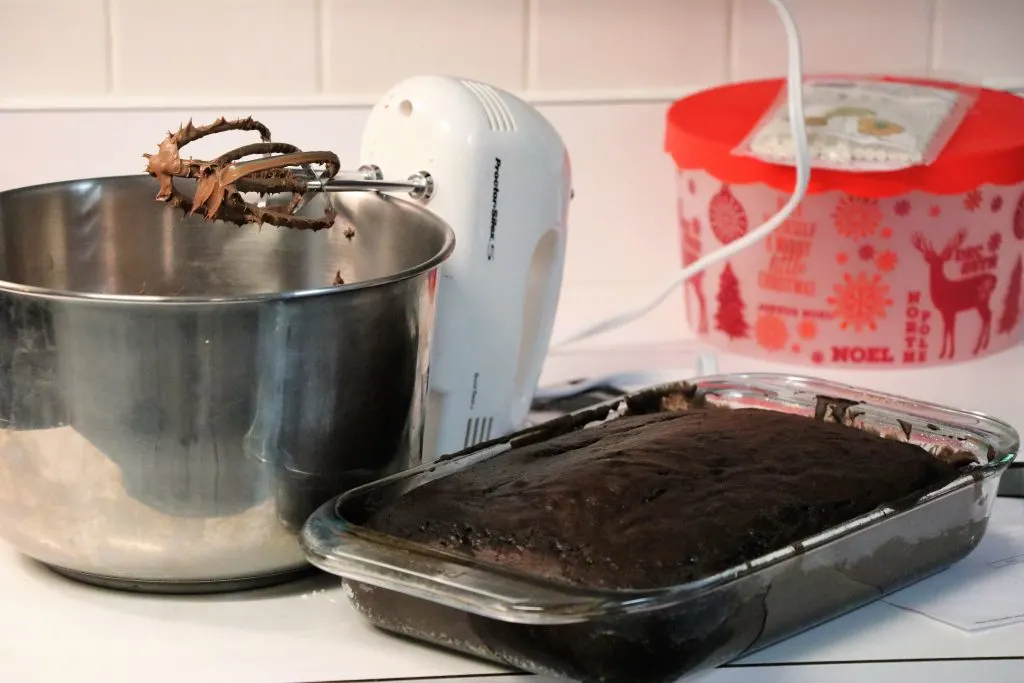
The first thing you are going to want to do is to make your cake. This part is pretty simple is you are using a boxed cake mix. I used the boxed mix as my base and added in the 3 eggs that is called for. Instead of oil, I opted to use the same amount of butter instead. I think it gives the cake a richer taste and texture.
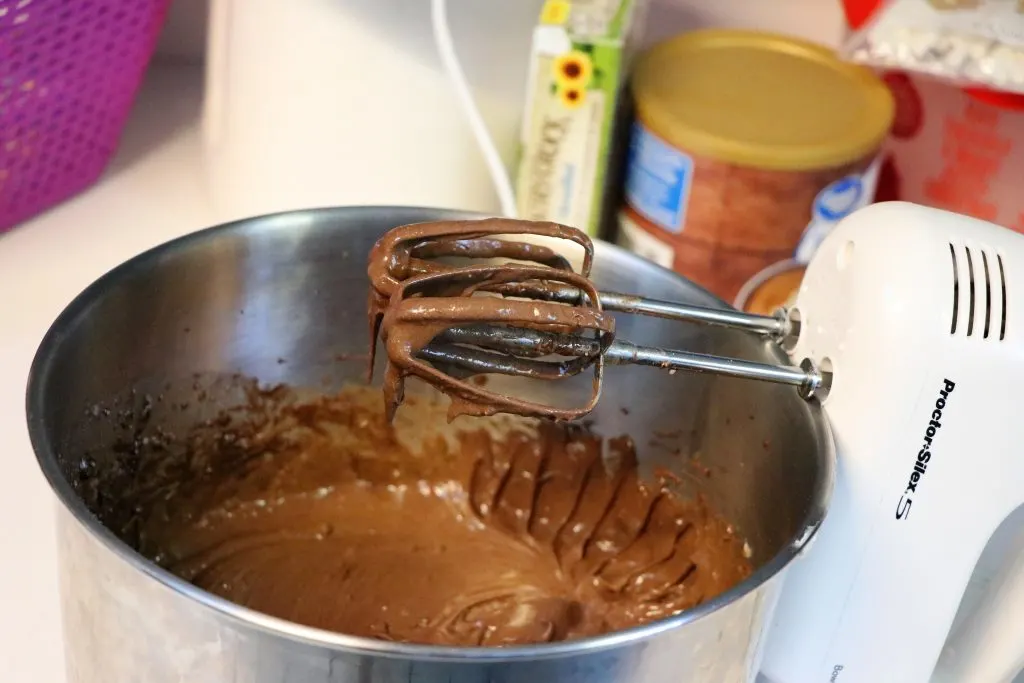
According to the box, the cake batter required water, but I opted to use the same amount of cold coffee instead. I also added in a bit of peppermint extract and cappuccino powder to the batter. Then it was just popped into the oven and backed according to the directions on the back. Just remember to always test how done the cake is with a toothpick. If the toothpick comes out clean, your cake is done!
Frosting
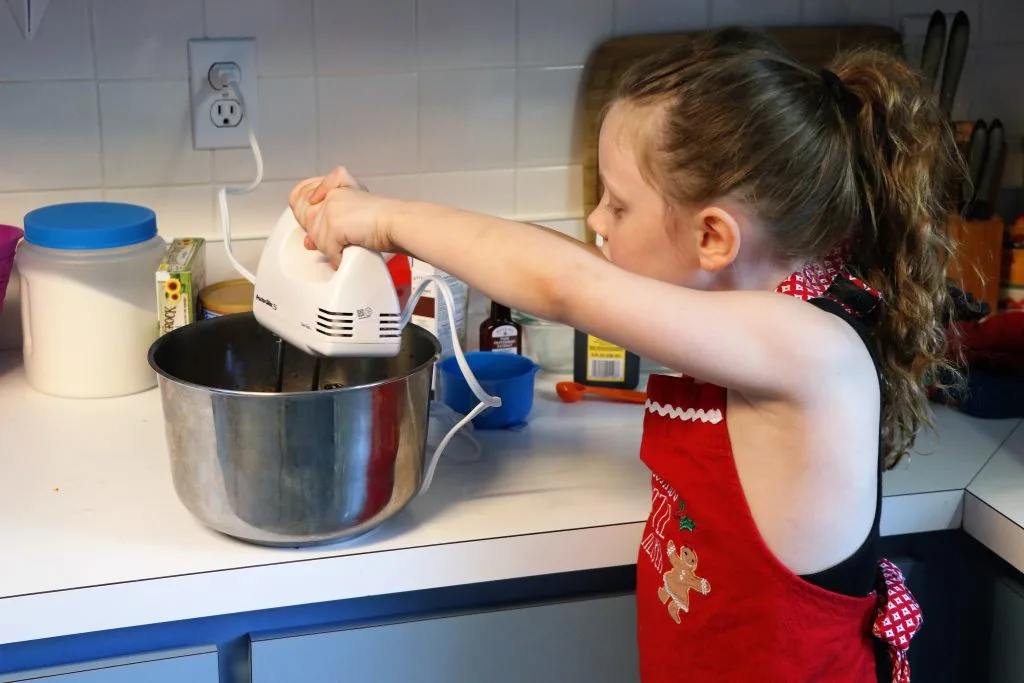
Once your cake is done, you are going to want to to completely cool off. While you are waiting, you can make some frosting! Now, as I said I did use pre-made frosting, but I added a little extra too it as well.
Starting out, we used a basic container of chocolate frosting. With that I let my daughter mix in some peppermint, vanilla, and powdered sugar.
Make The Pops
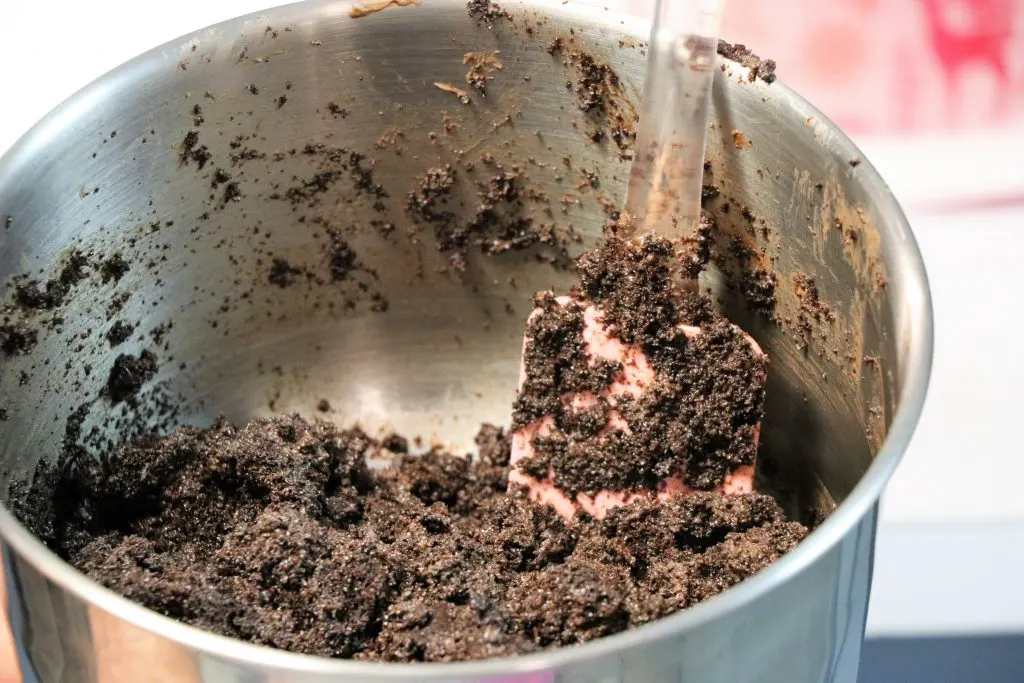
Once the cake is fully cooled down, you can start to break it up and fold it into the frosting. It will make a thick paste like consistency. Make sure it is all mixed in well and then we can move on to making the balls!
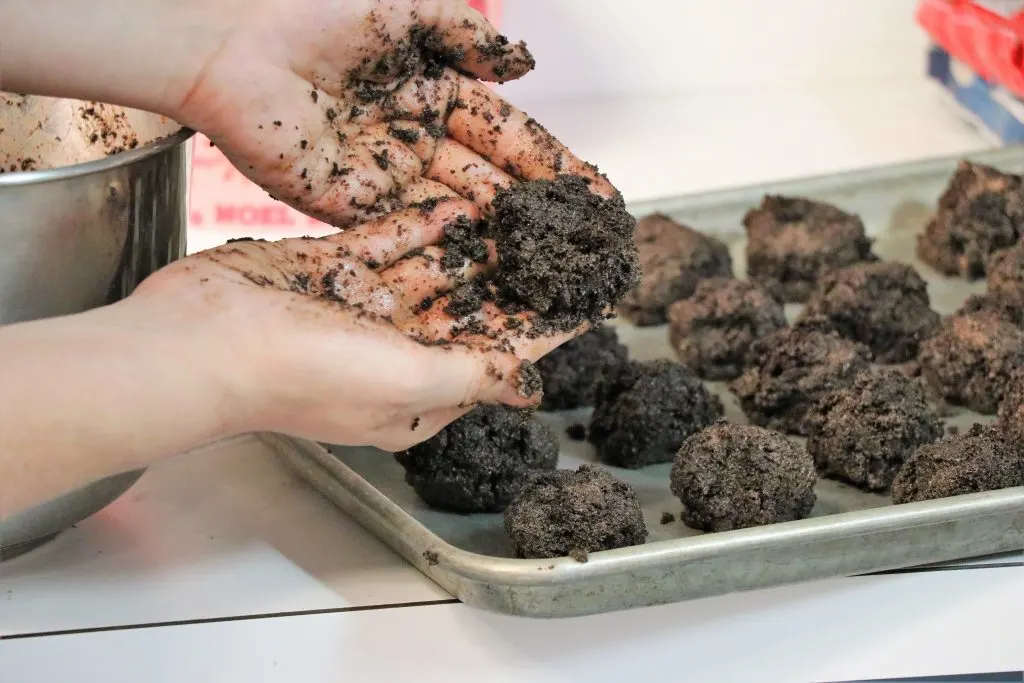
Now it is time to get messy! This was probably my daughter’s favorite part, because who doesn’t love getting their hands all covered in chocolate? We just rolled our the sticky mess into balls and placed them onto a large cookie sheet.
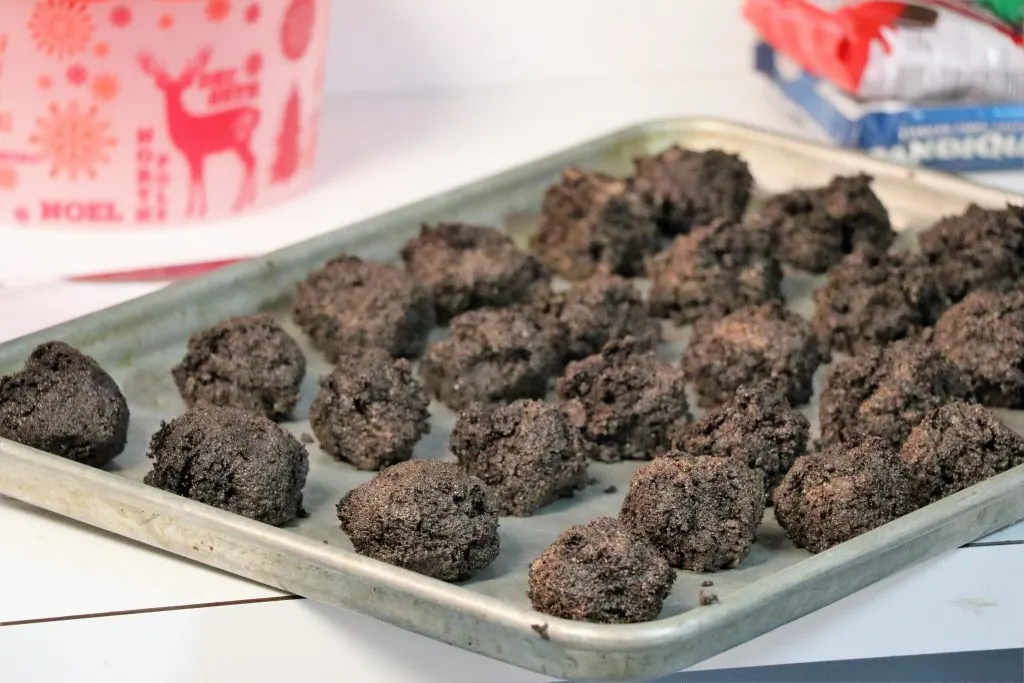
Once you have all of your pops rolled out, place them in the fridge to chill. They will need to chill for a few hours at minimum, but I did mine overnight.
Time To Coat!
Alright, now onto the fun part. Once your pops are good and chilled you can coat and decorate them. This part is up to you on how you want to do it, but I used melting wafers to coat my peppermint mocha cake pops. Feel free to use crushed up peppermint candy as well if you would like. I think that would look really pretty.
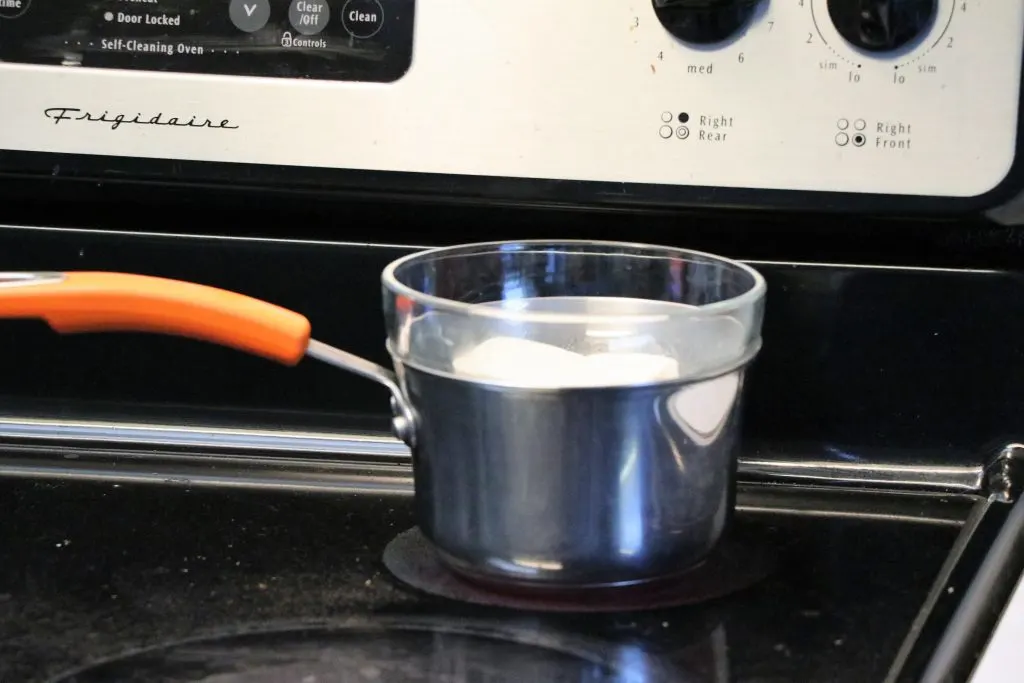
I started with melting my white chocolate. Melting chocolate can be tedious, but it is best to use a double boiler to make sure it doesn’t burn or seize up. I am pretty sure there is a way to melt chocolate in the microwave, but I don’t own one of those.

While you are melting your chocolate, you will want to put the cake pop sticks onto your balls. I recommend placing them back in the fridge until you are ready to coat them because they will warm up quickly and that will lead to them falling apart when you coat them.
When your chocolate is melted, you can coat your peppermint mocha cake pops with the melted chocolate. It doesn’t have to be perfect either. Most of mine didn’t have coating on the bottom of the pops!
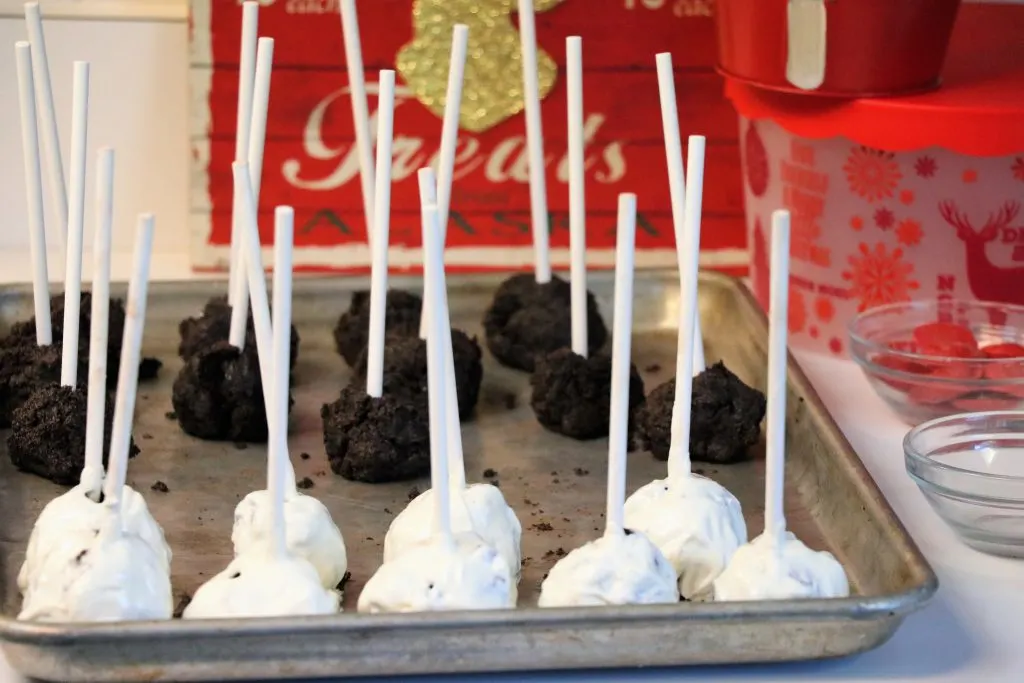
Once they are all coated, you can put them back in the fridge to cool a bit more before adding more layers. If you plan on doing crushed candy on top, you will need to add that before the chocolate has cooled on the cake pops.
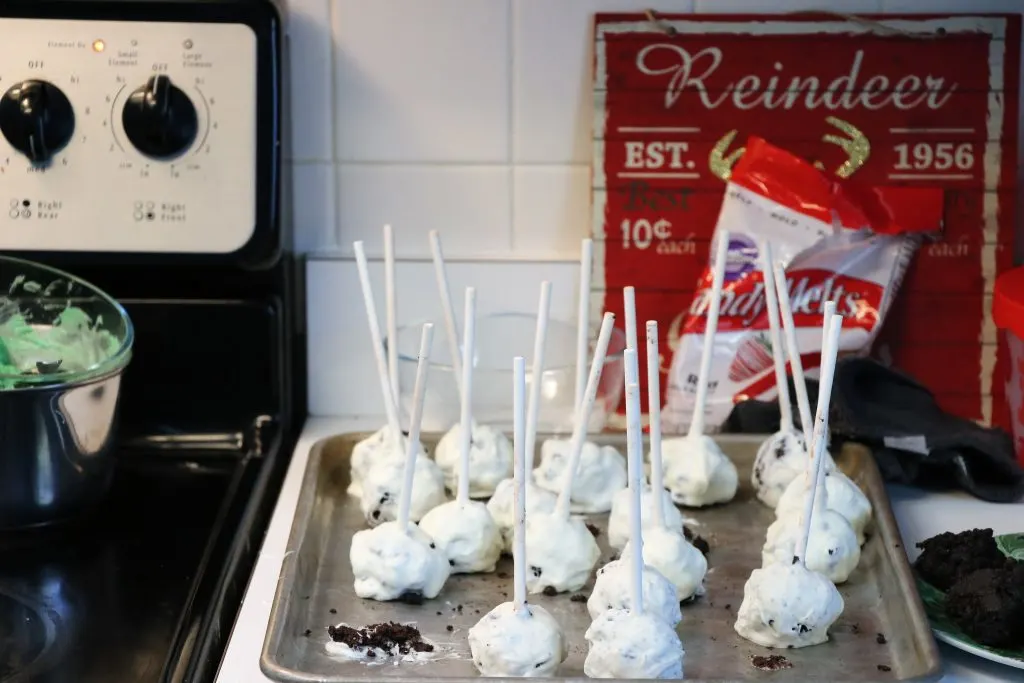
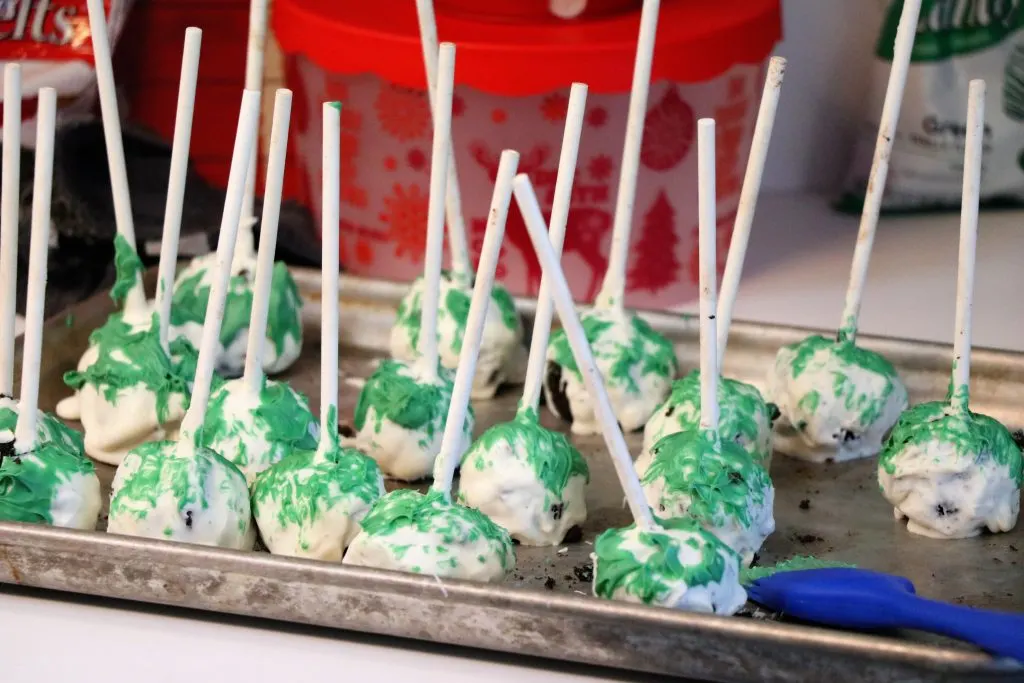
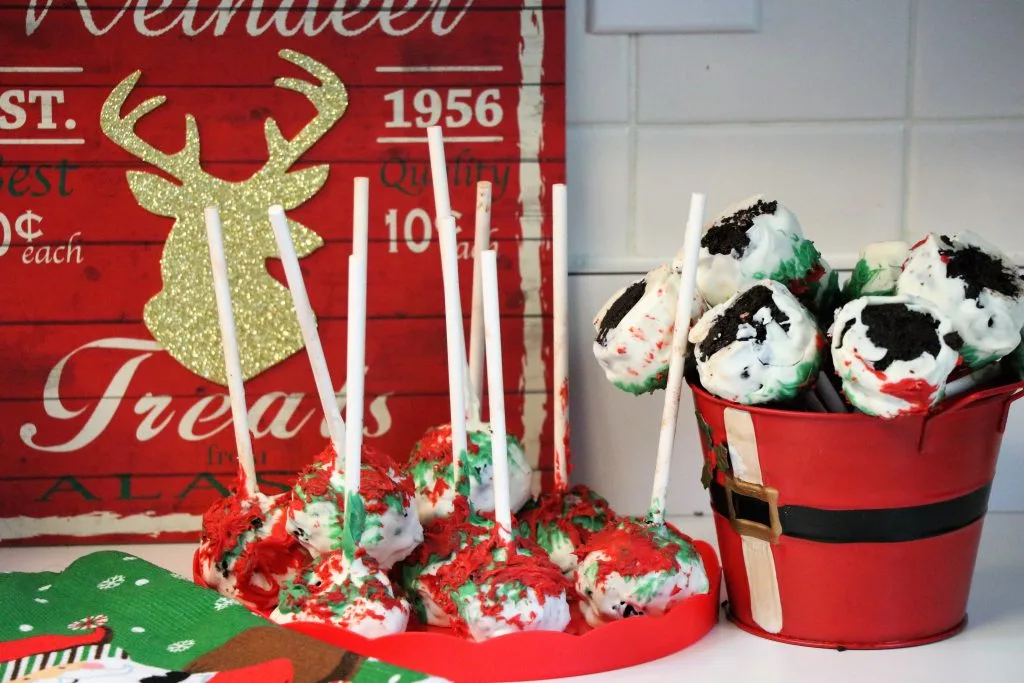
Once mine were nice and hard again, I melted some green and red wafers to use for some decorating. I didn’t need as much because they were just for accent colors.
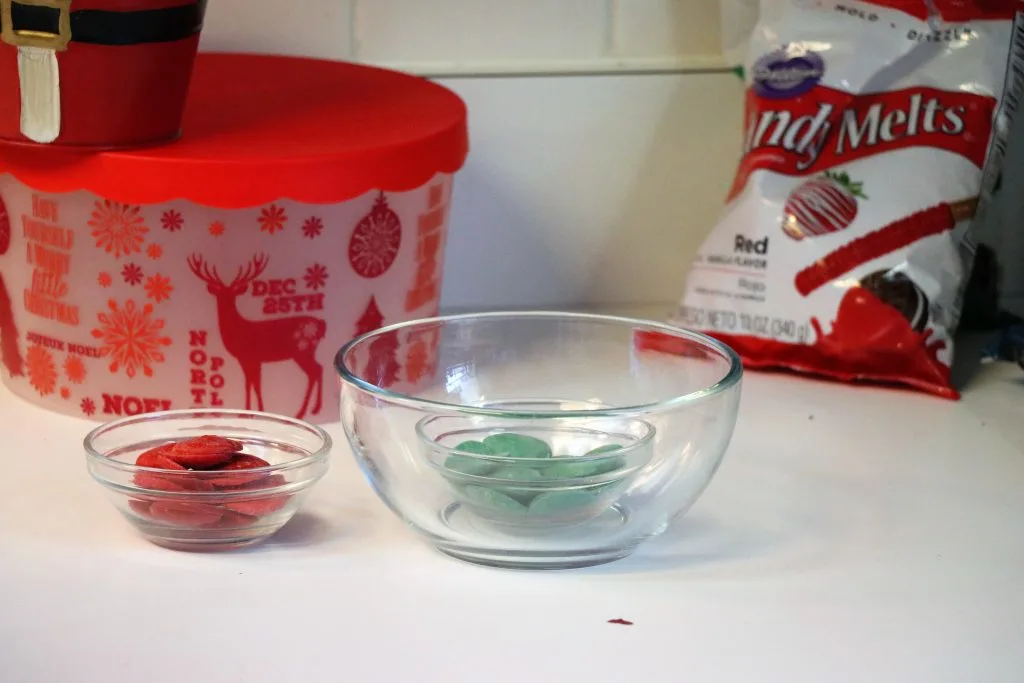
They totally did not look beautiful when I started out. I ended up using a brush to “paint” on the colors like a splatter pattern and i think, in the end, they turned out looking rather festive.
Full Printable Recipe

Peppermint Mocha Cake Pops
Peppermint Mocha Cake Pops perfect for any Holiday Party
Ingredients
- 1 Box Cake Mix make as instructed, substituting coffee for water and butter for oil
- 1 Jar Chocolate Frosting
- 1 Tbsp Powdered Sugar
- 1 Tbsp Peppermint Extract divided in half
- .5 Tbsp Vanilla Extract
- 1 Tbsp Cappuccino Mix
- Melting Chocolate
Instructions
-
Make cake according to the box. Mine used 3 eggs FYI. Substitute equal parts coffee for the water and butter for the oil.
-
Add in Cappuccino mix and .5 Tbsp of peppermint extract
-
Once cake is done, remove from oven and let cool completely.
-
Mix together frosting, vanilla extract, remaining peppermint extract, and powdered sugar.
-
Once cake is cooled, break up and fold into the frosting.
-
Form into balls and place on a cookie sheet to cool for 1-2 hours or overnight.
-
Once your pops are totally chilled, add in the cake sticks.
-
Melt your chocolate and coat your cake pops and decorate as desired!
-
Let chill a bit and then enjoy!

Jessi is the creative mind behind The Coffee Mom, a popular blog that combines parenting advice, travel tips, and a love for all things Disney. As a trusted Disney influencer and passionate storyteller, Jessi’s authentic insights and relatable content resonate with readers worldwide.

liz
Monday 14th of December 2020
YUMMY! my son is going to love these. saving for later. thanks!
5 Tips for Having a Healthy Holiday Season — The Coffee Mom
Friday 1st of March 2019
[…] what life throws at you, my one key rule of life is everything in moderation! Want to eat those peppermint cake pops at the party? Go for it! Just eat one, not seven of them. Enjoy life and all the treats of the […]
Cassie Tucker
Monday 11th of December 2017
These cake pops sounds delicious! I am going to forward this recipe to my husband and see if he wants to bake them before Christmas.
Hillesha O'nan
Sunday 10th of December 2017
How delicious! It has been awhile since I've had cake pops, but I'd love to try out this recipe sometime soon.
Angela
Sunday 10th of December 2017
I can’t wait to try this recipe! It will be perfect for my kids school Christmas party. I love how you broke it down into all the steps with the pictures.
Jessi
Monday 11th of December 2017
Thanks! I always like when recipes have breakdown pictures so I know I'm on the right track lol