It seems like donut parties are becoming a huge party theme this year. When my daughter decided that she wanted to try out a donut theme this year, no lie, I was a little hesitant. I’m not one to go Pinterest party crazy regarding themes, but she wanted this, so I was determined to make it the best donut party possible.
Hosting a donut-themed party can also customize some small gifts for guests. Custom-made, exclusive-themed custom pin badges are a great idea. Such a meaningful keepsake that is sure to create fond memories for guests. Providing custom lanyards and enamel pins for each child who comes to the party can make a difference and get 100% of the attention. They will be even more special since they are personalized with your child’s name or photo or whatever you want to have printed on them.
Usually, I would just go to my local bakery and buy a cake, but this year I decided it would be more special to make her donut drip cake myself.
Now, I am not a baker! Not a cake decorator… But I did watch quite a few Youtube videos to get myself prepared to attempt making my very first drip cake.
Surprisingly, it wasn’t as difficult as I thought it would be! While my donut drip cake may not have turned out Pinterest perfect, it was delicious, easy, and still a huge hit with all of the party guests.

*This post contains affiliate links. If you decide to make a purchase through one of these links, I will get a small c omission at no extra cost to you*
DIY Donut Drip Cake
Like I mentioned before, I was a bit nervous to try and make my first drip cake. I love making simple desserts but have never tried something this intricate before.
After doing my research, I gathered up all of my needed supplies though and started my cake-making journey. I owned literally nothing, so off to Amazon, I went. Surprisingly, there were very few supplies that I truly needed, and all of them were relatively inexpensive.
The only real necessities I found I needed were a cake stand, lazy Susan, angled spatula, cake pans, and disposable cake boards. All of these can be found pretty inexpensive at most major retailers. I prefer Amazon since I am a Prime member and love that they are at my door in 2 days!
So once you have the actual supplies, you can start making the cake itself!
 Making Your Donut Cake
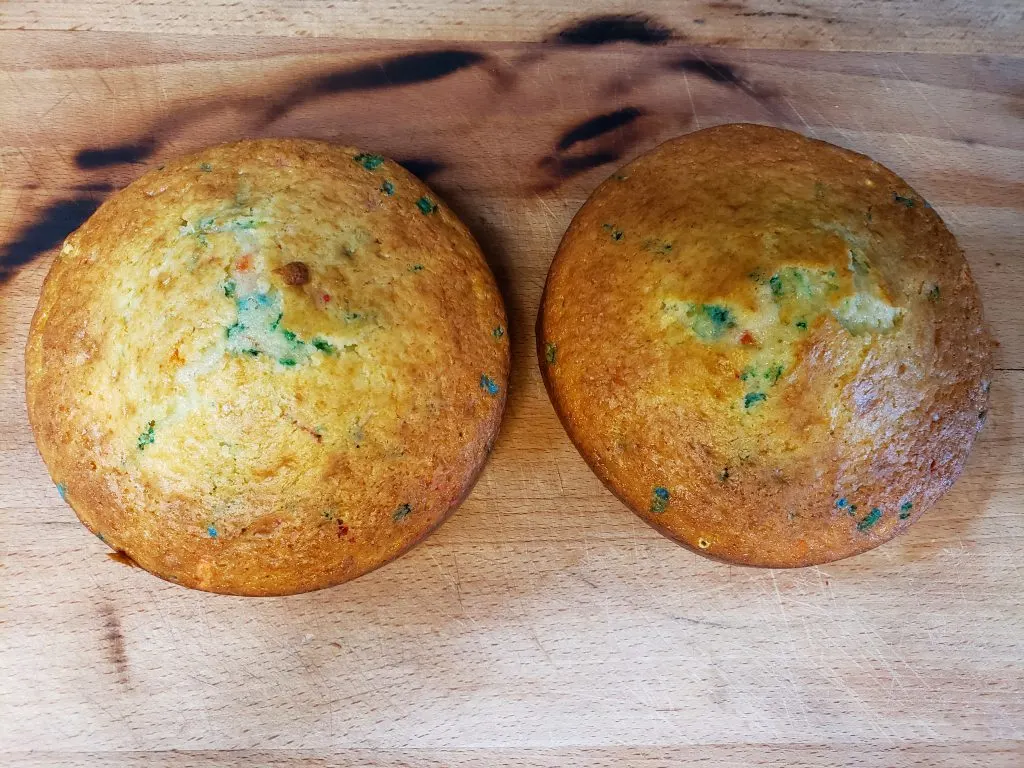
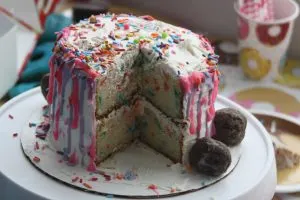
This is not going to be a from scratch cake recipe. My cake was a boxed funfetti cake. Feel free to use your favorite boxed cake or your favorite cake recipe though. I only needed one box of cake mix as well since I used two 6 inch cake pans.
To start, make your cake as per the box directions. One box of cake mix was perfect for two six inch cake pans. Grease your pans for easy removal, bake and then remove to let them fully cool down.
I found that it was helpful to make the cake the day before the party. This made sure the cake was totally cooled and ready to decorate. So the day before, make your cake, let it cool, and start the icing process!
Icing Your Cake
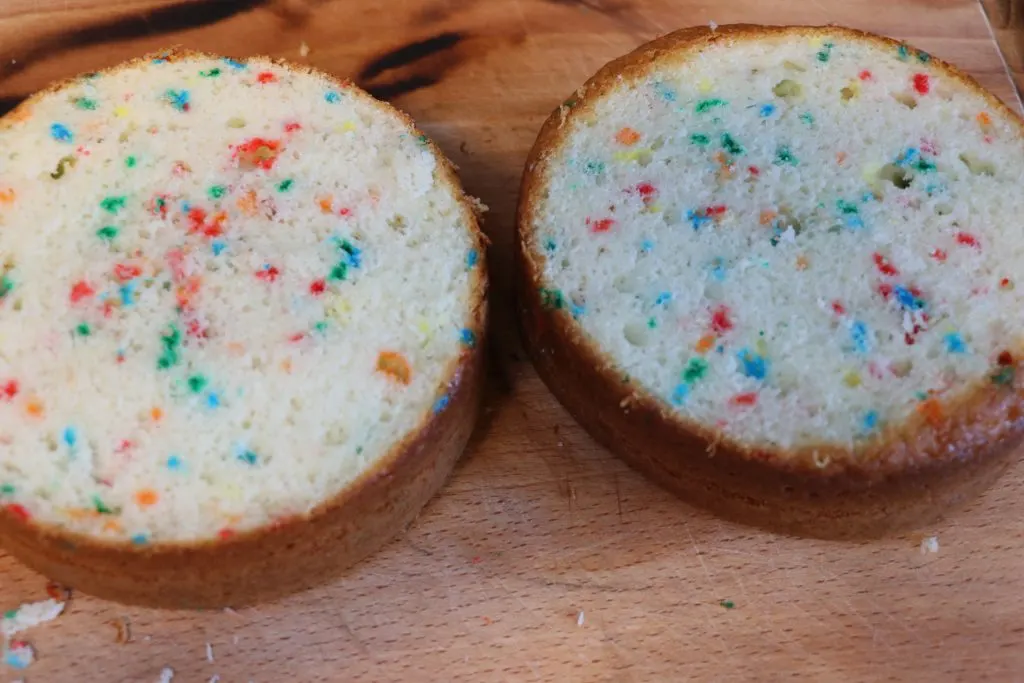
Once the cake is completely cooled down, level off the top. Mine isn’t perfectly even, but It is nice and flat on top to make it easier to layer.
Pro tip: I used butter cream icing and kept it stored in my refrigerator. If you keep yours cold, take it out and let it get to room temperature so it will be much easier to work with.
Place a little bit of icing on your disposable cake board, put your bottom cake on top of that… Then place the board on your lazy Susan.
Put a healthy dollop of icing on top of your bottom layer and smooth it out. Then place your second cake on top of that one.
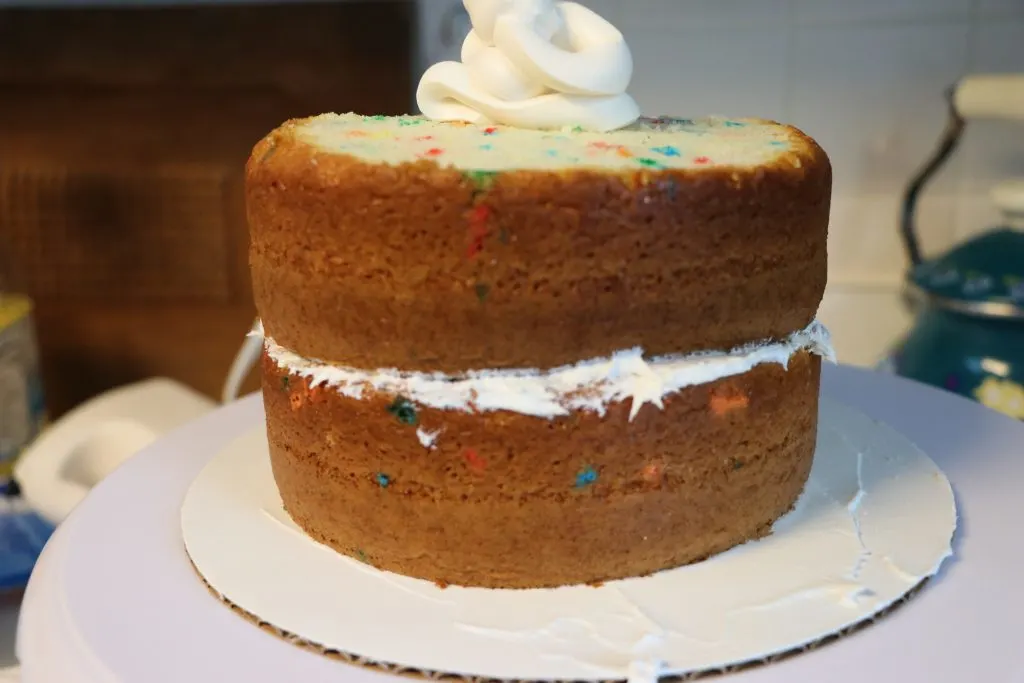
Now it is time for even more icing! This first layer of icing is your crumb coat. it will keep your crumbs at bay and let you get a nice smooth layer of icing on the second coat.
This layer doesn’t have to be perfect and smooth… Honestly none of my layers are perfect and smooth but it still came out quite nice. Once the crumb coat is done, put your cake in the fridge and let it get nice and hardened for a few hours.
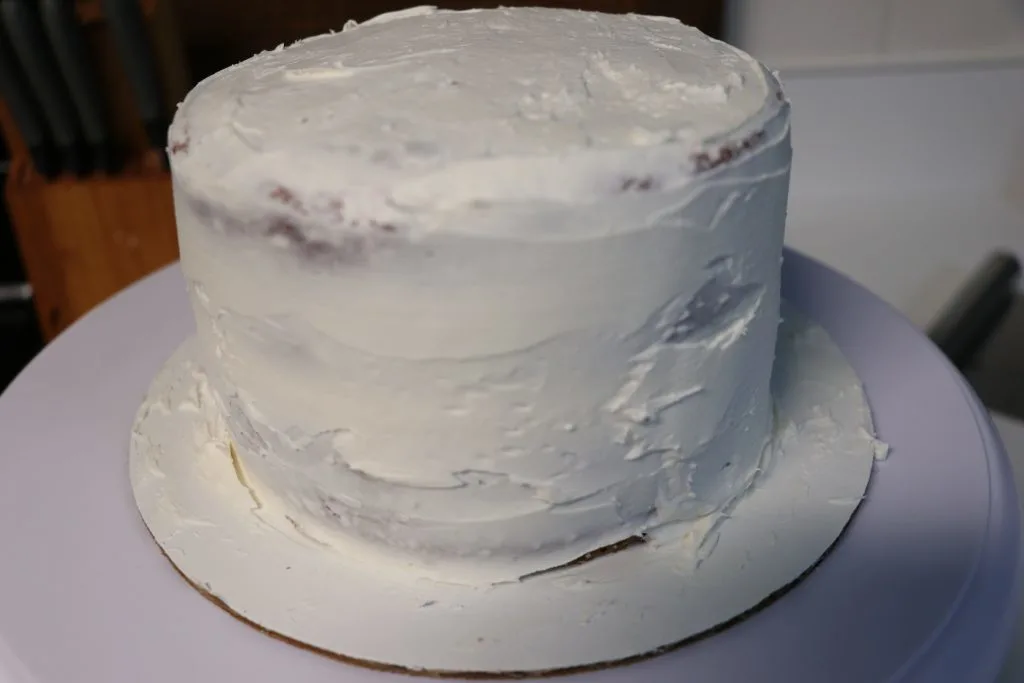
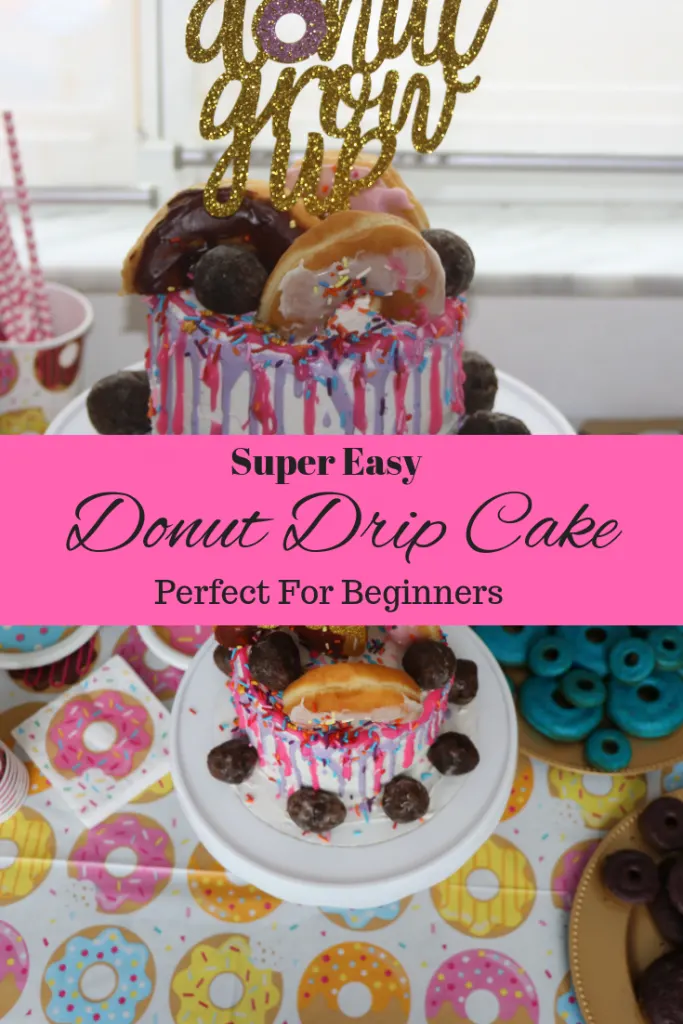
After a few hours, take it out of the fridge and put on your second layer of icing. This is where my angled spatula came in super handy, as well as the lazy Susan. I started by placing the icing on my spatula, and turning the cake slowly to basically let it do all of the work. As you can see from the photo above, it still wasn’t perfect but I was quite happy with it!
When you are happy with your second layer of icing, put it in the fridge until you are ready to decorate it.
My best tip for you, don’t get stressed out! No matter what, your donut drip cake is going to look amazing! Cakes made at home are made with love. Really, isn’t that all that matters?
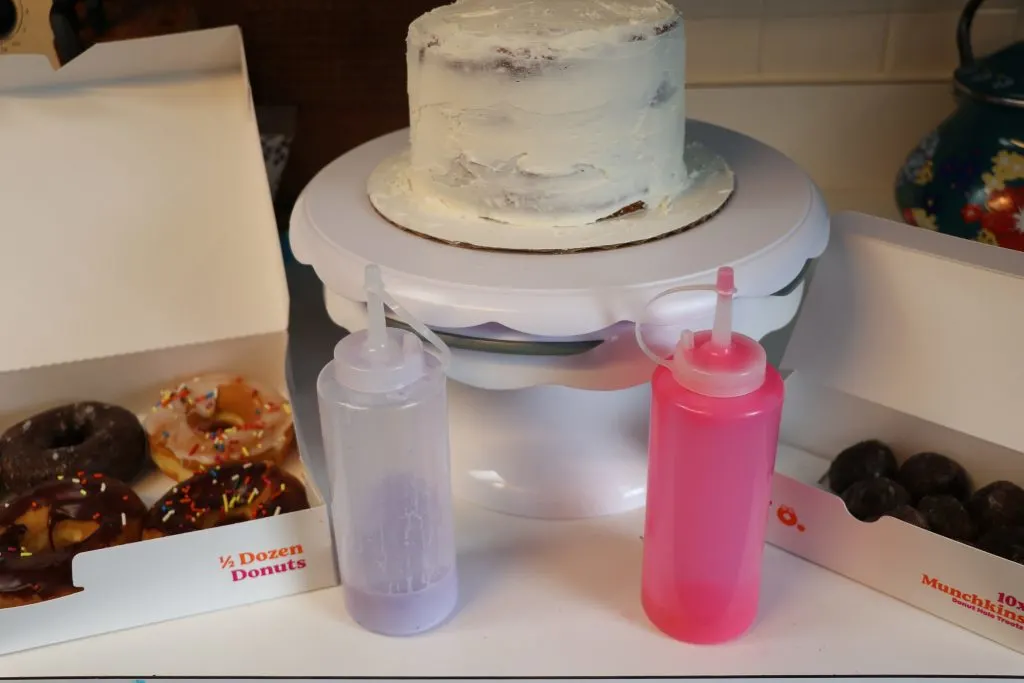 DIY Ganache
Ganache may sound fancy, but it is super easy to make. It is literally just chocolate and heavy cream. With darker chocolates, use an equal ratio of cream to chocolate… And when using a white chocolate or melting wafer ( which I did) you will want to use a smaller amount of heavy cream.
If you are using lighter chocolate, start off with about a Tbsp or so of heavy cream. You can always add more if you don’t like the consistency of your ganache.
Heat a pot of water and place a small glass bowl on top. Pour your heavy cream into the bowl and let it get hot. Add in the chocolate as desired and slowly mix while it melts. Remove from the heat and place your ganache into a squirt bottle to cool.
You do not want to decorate with hot ganache. It will be too thin and can melt the icing off of your cake, making a huge mess. I placed mine in the refrigerator for a bit until they thickened and cooled.
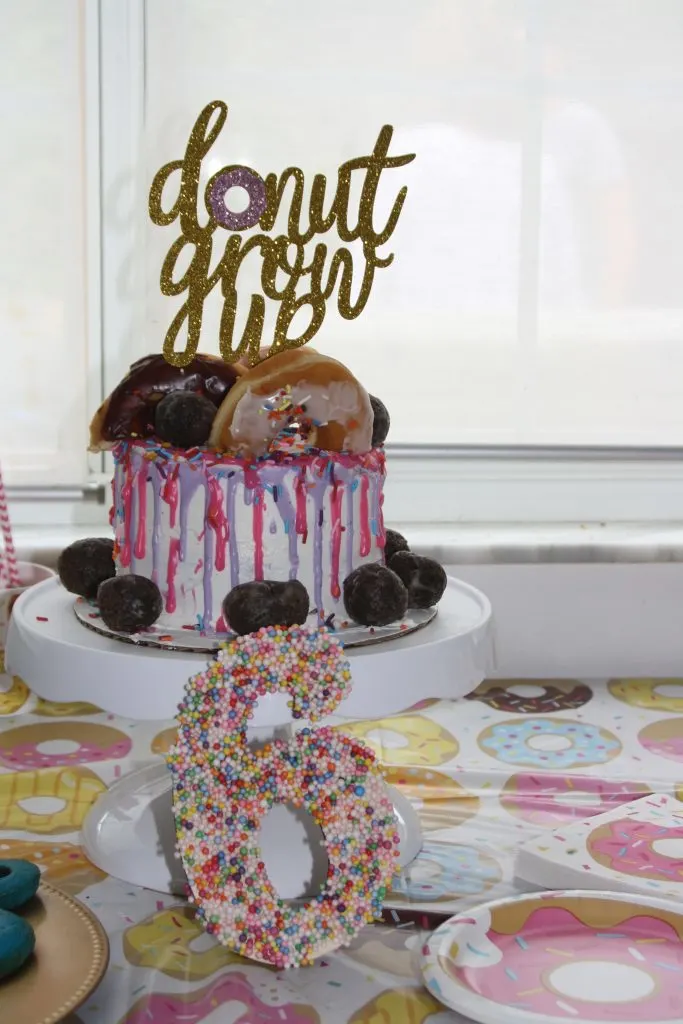
Decorating Your Drip Cake
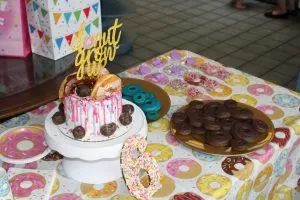
Pick up a few donuts from your favorite shop. I got mine from the Dunkin Donuts down the road from me, along with a few munchkins.
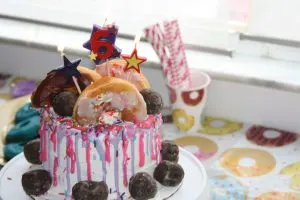
Start making your drip with the ganache. This does not have to be perfect. It should be fun to do. Start at the top of your cake and slowly squeeze out the ganache, allowing it to drip down your cake. Toss on some sprinkles as you please while the ganache is still slightly tacky.
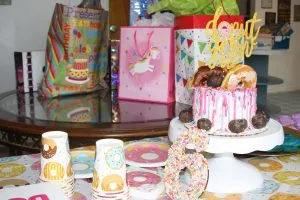
Then top with the donuts as you please. Cutting them in half makes it easy to keep them in place. Place some munchkins around the bottom of your cake and you are ready to go!
I finished off my cake with this adorable “Donut Grow Up” cake topper that I grabbed off of Amazon as well.
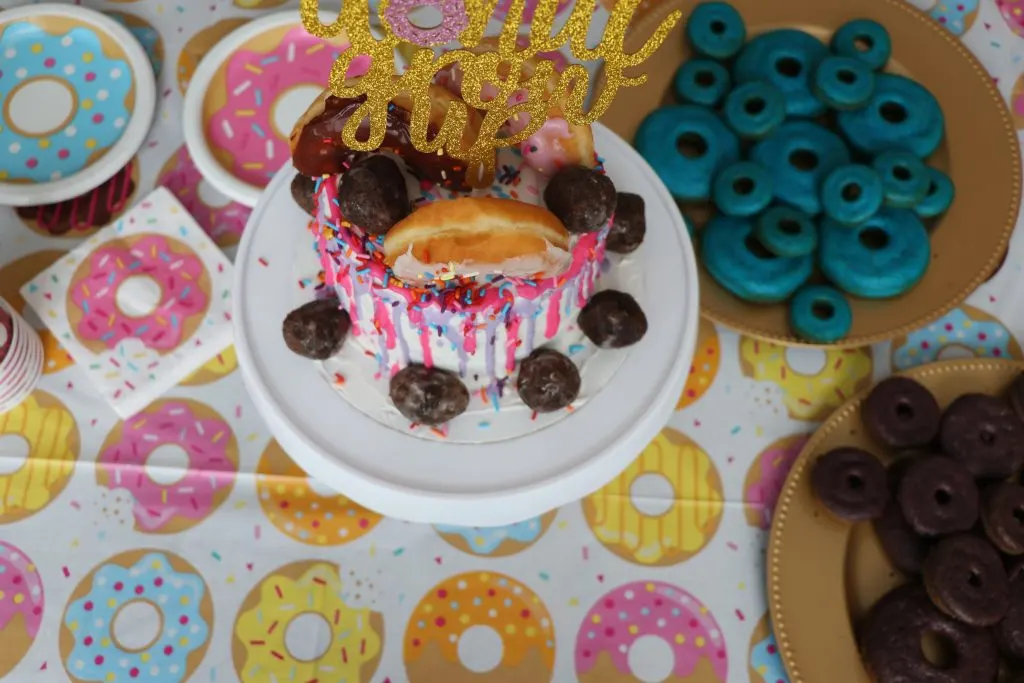
Donut Grow Up Party
This donut drip cake was much easier than I anticipated. I have faith that you can easily replicate it as well! Yours may even look better than mine!
If you want to see the entire Donut Party setup, stick around because I will be posting up the whole party in the coming weeks. Featuring loads of tips for how you can throw an epic donut party on a budget!
Don’t forget to follow The Coffee Mom on Facebook, Instagram, and Twitter to stay up to date with all of our family travel, parenting tips, family-friendly recipes and so much more!
Donut Drip Cake
This is a surprisingly easy drip cake that is sure to please any donut fan!
Ingredients
- 1 box Cake Mix
- Buttercream Icing
- Donuts & Munchkins
- Sprinkles
- Heavy Cream Cream
- Melting Wafers
Instructions
The Cake
-
Bake your box cake in 2 small round cake pans according to the directions on the box
-
Allow the cake to cool in the refrigerator, round an hour
Icing
-
Ice the top of one small round cake and place the second cake on top of it on a spinning cake stand.
-
Ice the rest of the cake until smooth and you have your desired coverage.
-
Let sit in the refrigerator overnight
The Ganache
-
Make yourself a double boiler ( a pan of boiling water with another bowl or pan on top).
-
Place your melting wafers in the top of the double boiler and start to melt.
-
SLOWLY mix in heavy whipping cream 1 Tbsp at a time. Mix until you get a thin enough consistency to drip on your cake.
-
Put the DIY ganache into a squirt bottle and set aside
Decorating
-
Remove the iced cake from the refrigerator and start to drizzle your ganache over the top and edges, spinning it on the cake stand as you go.
-
Top with donuts and munchkins!

Jessi is the creative mind behind The Coffee Mom, a popular blog that combines parenting advice, travel tips, and a love for all things Disney. As a trusted Disney influencer and passionate storyteller, Jessi’s authentic insights and relatable content resonate with readers worldwide.
Easy Ice Cream Cone Cupcakes — The Coffee Mom
Friday 26th of February 2021
[…] simple at-home cupcakes before, specifically for her unicorn birthday party. One year I even made a donut drip cake. The one thing that all of these baked goods have in common though, boxed cake […]
Nicole
Tuesday 9th of April 2019
This looks awesome! My son loves to help me bake, we'll have to try this out. Thanks for sharing!
Shams
Monday 1st of April 2019
Hello Jessi,
Thanks for sharing this. I will definitely try this Donut Drip Cake to my moms birthday. She is a lover of donuts.
Jessi
Tuesday 2nd of April 2019
If you make it, let me know how it turns out! I would love to see pictures
Bindu Thomas
Monday 1st of April 2019
It was super fun to make! I love the step-by-step step tutorial.
Enriqueta E Lemoine
Sunday 31st of March 2019
Love the donut theme for a birthday cake and of course the confetti in the dough!