Apples are the flavor of Fall, but I love them all year round. Topped with oats, pecans, and brown sugar, I promise this is the best apple crisp recipe I have ever tried. So go on and grab some apples, a cast-iron skillet, and some vanilla ice cream and enjoy this super easy dessert.
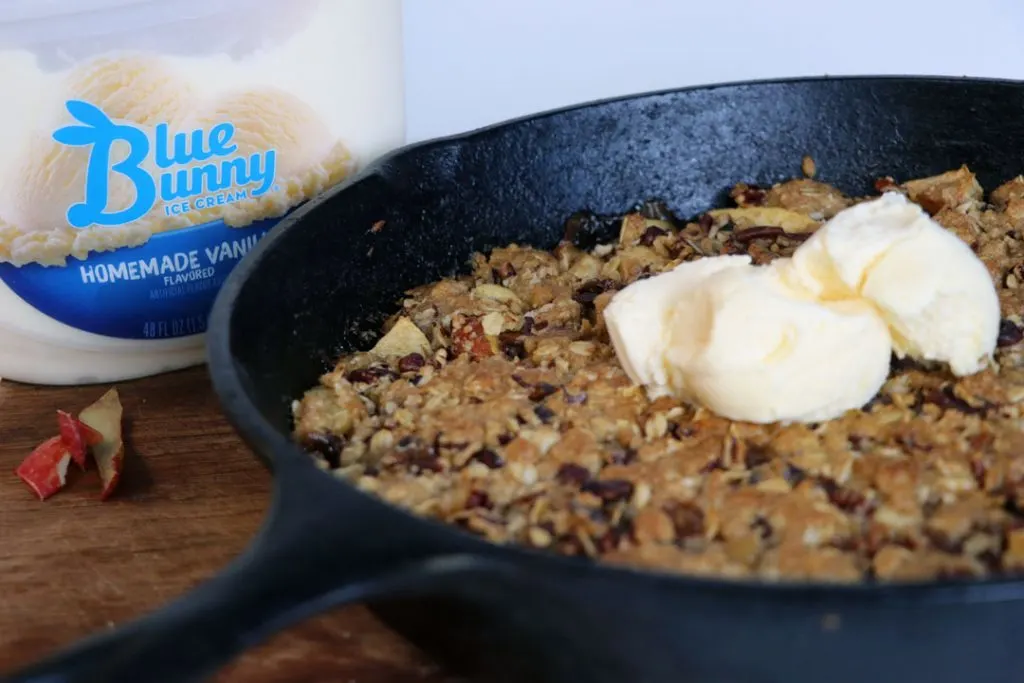
Easy Cast Iron Apple Crisp Recipe
I absolutely love apples. While I know they are a “typical fall fruit” I just don’t care. Apples are delicious any time during the year, and this is the hill that I will die on.
Recently, I purchased a huge bag of Honeycrisp apples but didn’t really have a plan on what do to with all of them. The kids were eating them, but not quickly enough and I really did not want my apples to go bad.
What else is there to do with Honeycrisp apples? Whip out the cast iron skillet and make some homemade cinnamon apple crisp of course!
What are the Best Apples for Apple Crisp?
One of the most common questions I see when it comes to making apple crisp, is “what are the best apples to use in apple crisp?”
The answer for this varies depending on who you talk to, but there are a few varieties of apples known for being the best for baking.
Honeycrisp, Granny Smith, and even Golden Delicious apples are some of the best for baking. All three of these apple varieties hold up extremely well to baking.
How to Make Apple Crisp in the Cast Iron Skillet
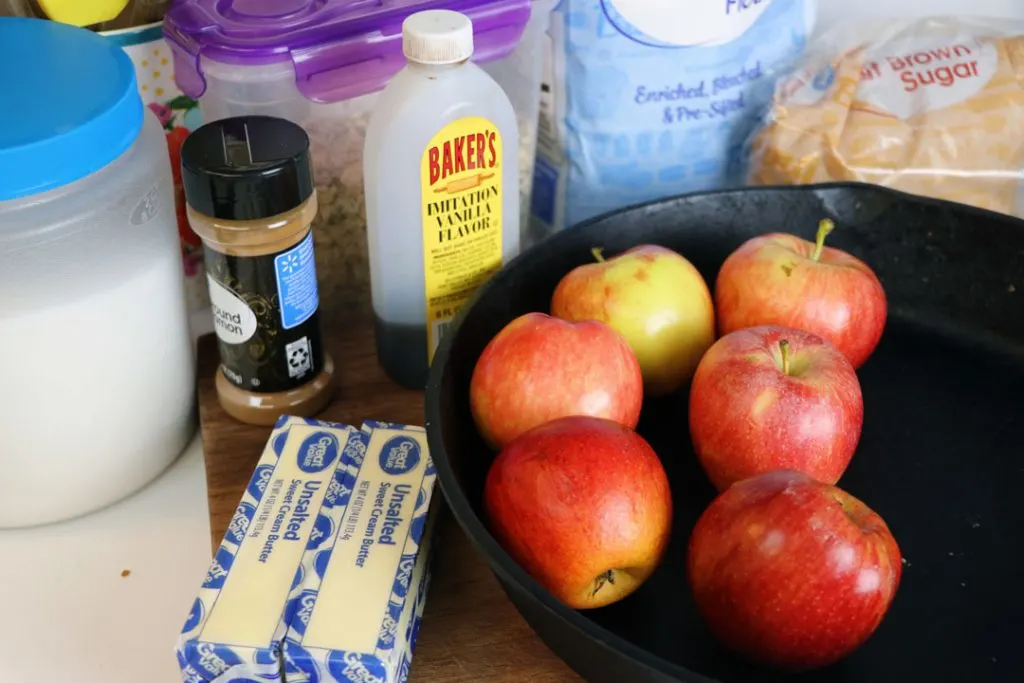
Ready to make some cast iron apple crisp? First, grab your ingredients.
- 6 Honeycrisp Apples
- Butter
- Pecans
- Cinnamon
- Sugar
- Brown Sugar
- Flour
- Salt
- Vanilla Extract
- Water
Step one, Preheat your oven to 375°.
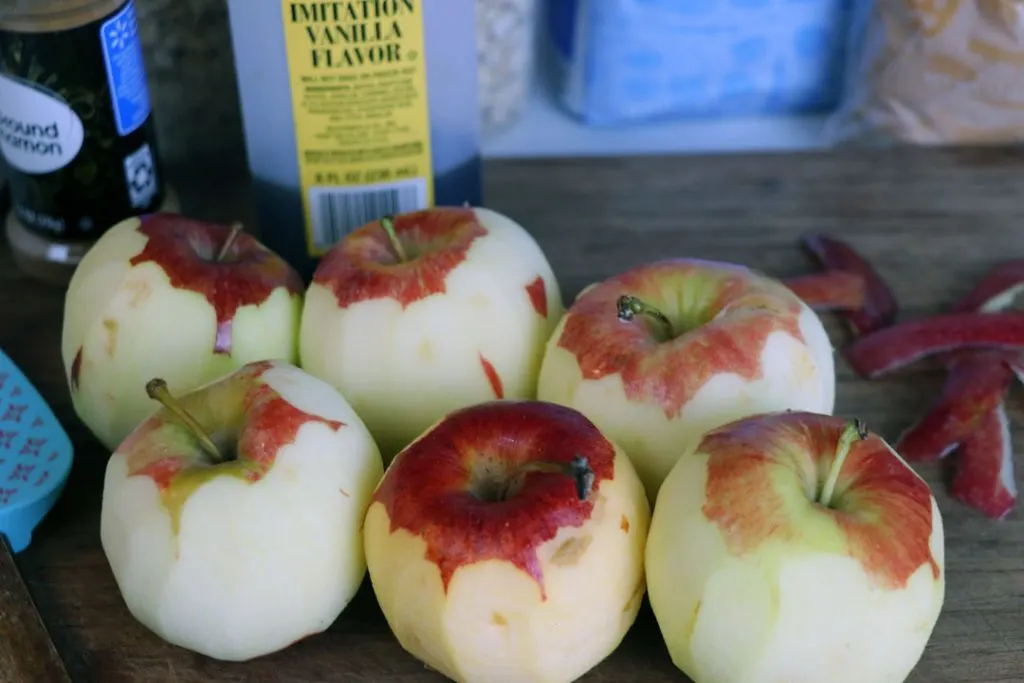
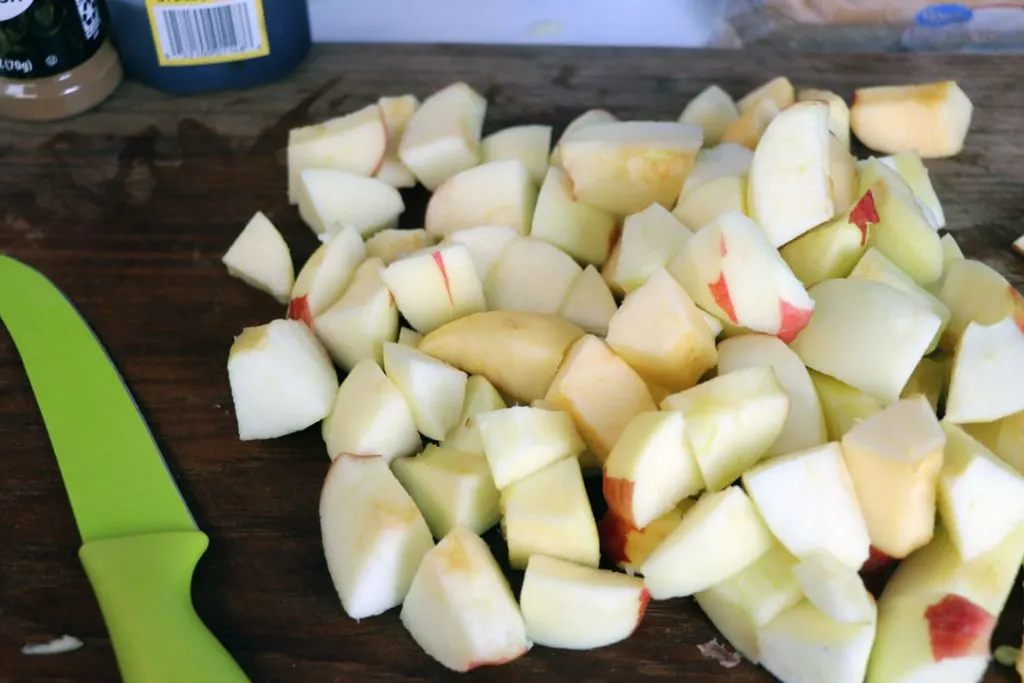
While your oven is heating up, peel your apples. Then you want to core, slice, and cube them. Set them aside for now.
Time to make the apple crisp topping! This is my favorite part! A good topping really makes the whole dish come together!
Get out a large mixing bowl and pour in 1/2 cup of oats ( I used just old-fashioned oats from Quaker), about 1/2 cup of chopped pecans, 1/4 cup brown sugar, 1 Tbsp Cinnamon, a pinch of salt, and 6 Tbsp room temperature butter.
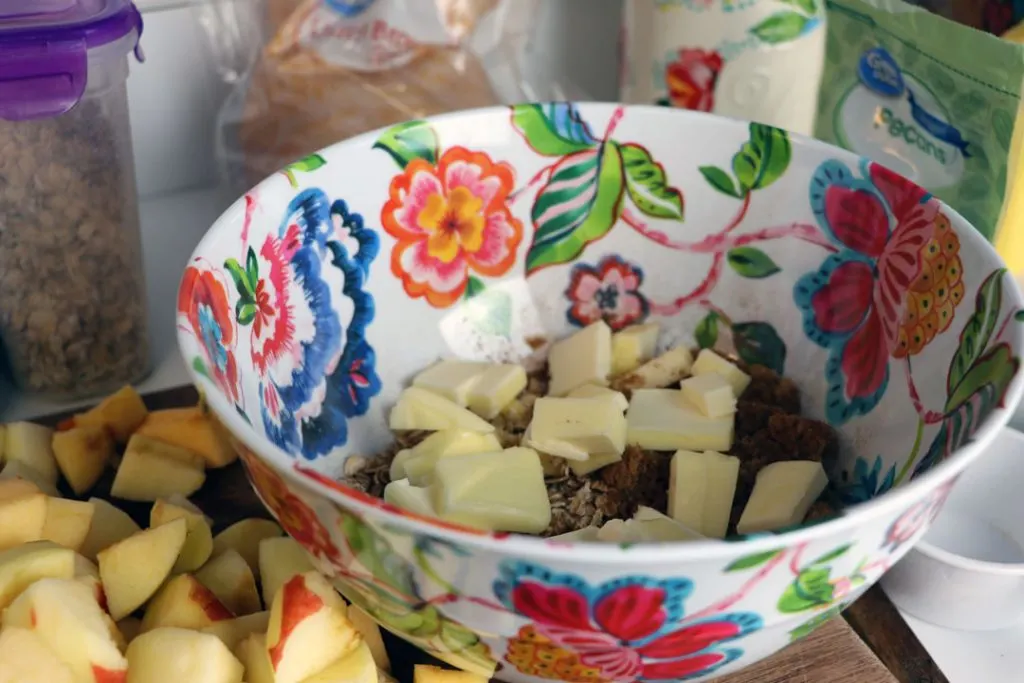
Combine these until they are a nice paste consistency. I found it was much easier to combine fully with my hands as opposed to with any spoon or mixer.
Sometimes, the best way to cook is to get your hands a little dirty.
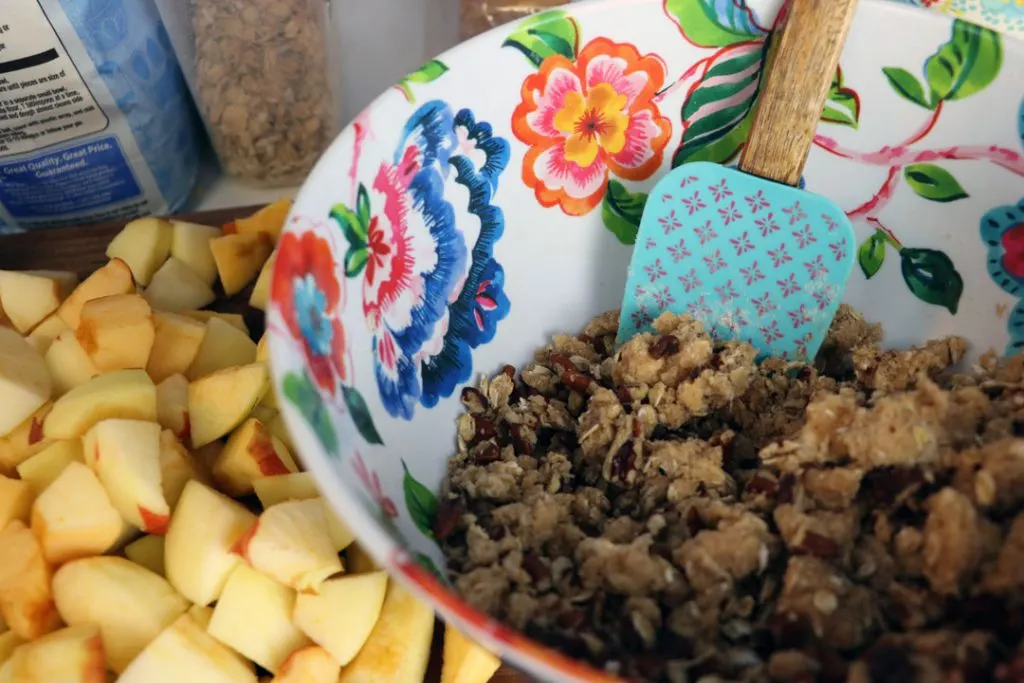
When the topping is done and all the butter has been worked in, set it to the side.
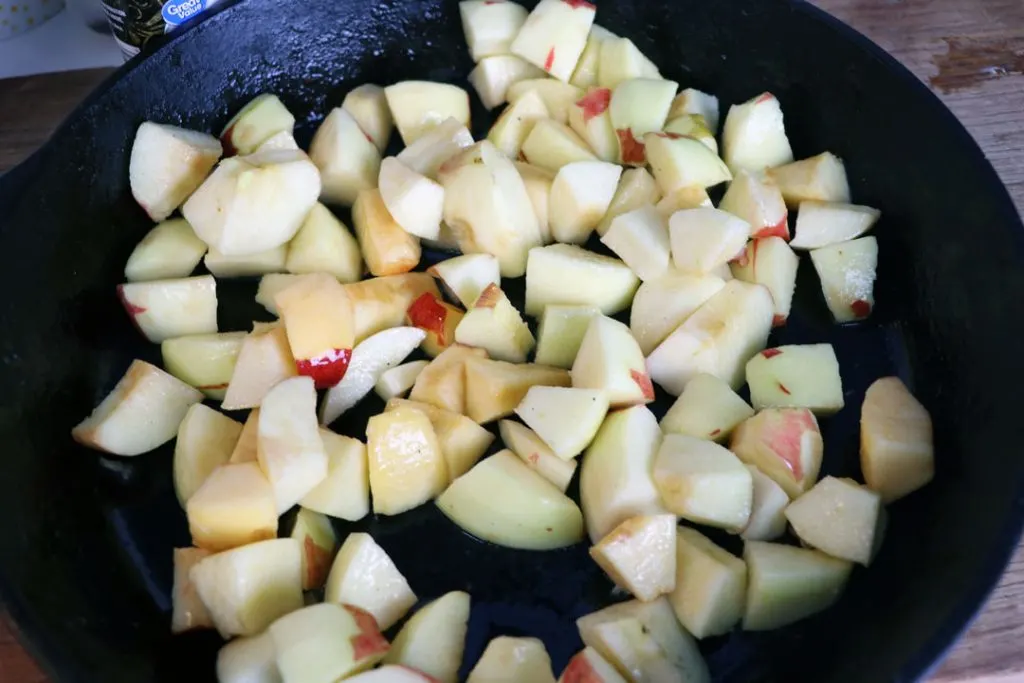
Melt your 3 Tbsp of butter in your cast iron skillet. Toss in your apples and coat them in the melted butter.
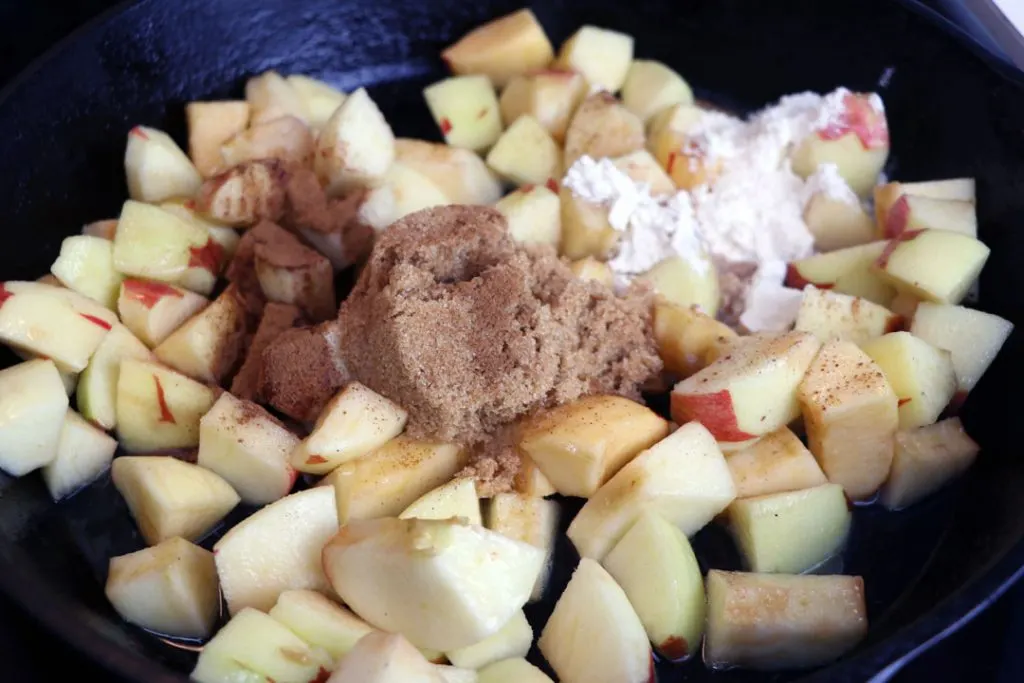
Once your apples are nice and coated in melted butter, add in 5 Tbsp of water, 1 Tbsp Flour, 1 Tsp Vanilla extract, 1/4 cup Brown Sugar, and 1 Tsp Cinnamon.
Stir in until all of the apples are nicely coated.
Next, top your apple crisp filling with the pecan streusel topping.
Spread the topping out evenly over the top of the apple filling. Bake for 30 minutes.
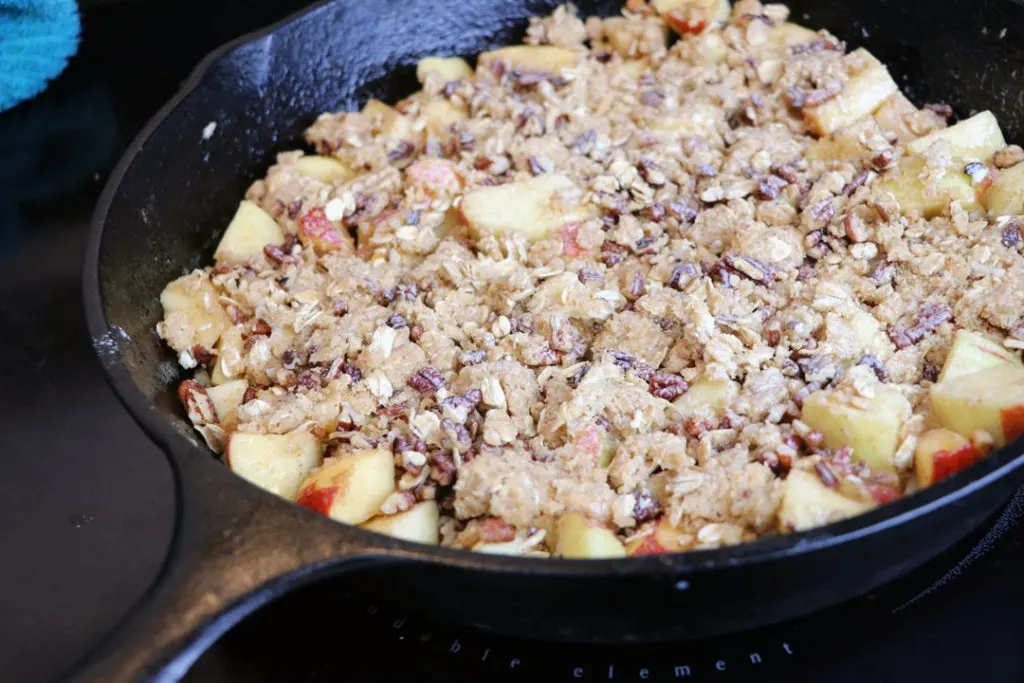
Carefully remove from the oven. Cast iron gets heavy and hot ( trust me, I have regretted life decisions when cooking with cast iron in the past).
Let it cool a little, serve with your favorite vanilla ice cream and enjoy!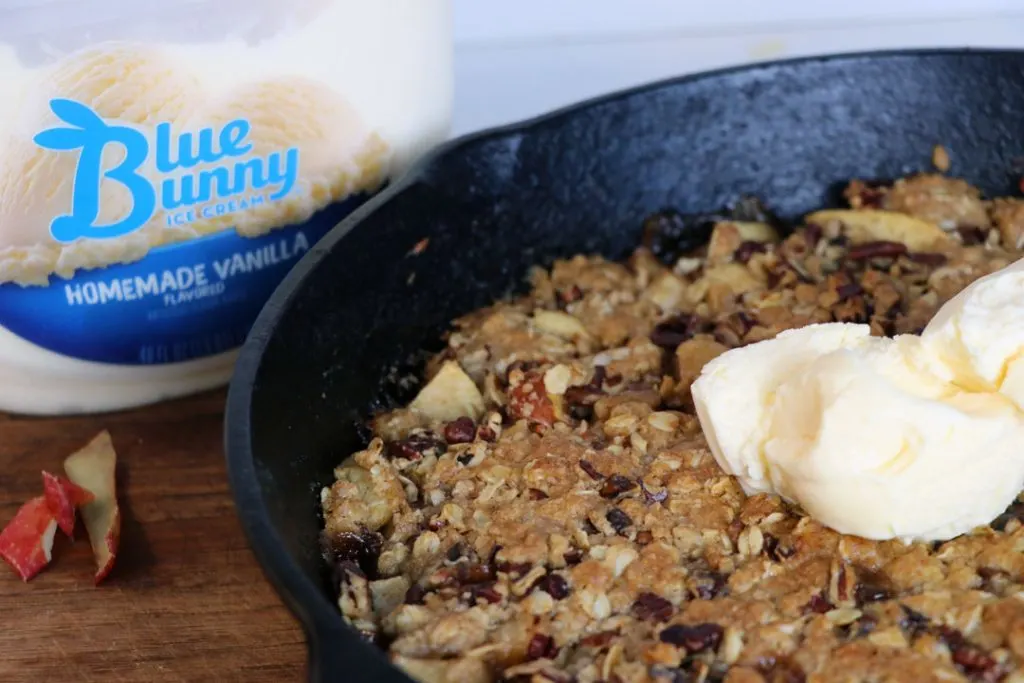
Want more fruity desserts? Check out this slow cooker honey peach cobbler next!
Get your printable recipe to see how to make an easy apply crisp below.
Grab the printable cast iron cinnamon apple crisp recipe here:

Cinnamon Apple Crisp
The Best Cinnamon Apple Crisp Recipe with Oat and Pecan Topping
Ingredients
Apple Crisp Filling
- 6 Apples
- 3 Tbsp Butter
- 5 Tbsp Water
- 1 Tbsp Flour
- 1 Tsp Vanilla Extract
- 1/4 Cup Brown Sugar
- 1 Tsp Cinnamon
Apple Crisp Topping
- 1/2 Cup Flour
- 1/2 Cup Oats
- 1/2 Cup Chopped Pecans
- 1/4 Cup Brown Sugar
- 1 Pinch Salt
- 6 Tbsp Butter Room Temperature
Instructions
-
Preheat your oven to 375°.
-
Peel, core, and dice your apples. Set aside.
-
Combine all of your apple crisp topping ingredients in a large mixing bowl.

-
Mix well. This may take you using your hands to get everything well combined.

-
Melt the remaining butter in your cast iron skillet and toss in your apples.
-
Next, mix in the rest of the apple crisp filling ingredients and combine well.
-
Evenly spread on the topping.

-
Bake for 30 minutes, until nice and golden brown.
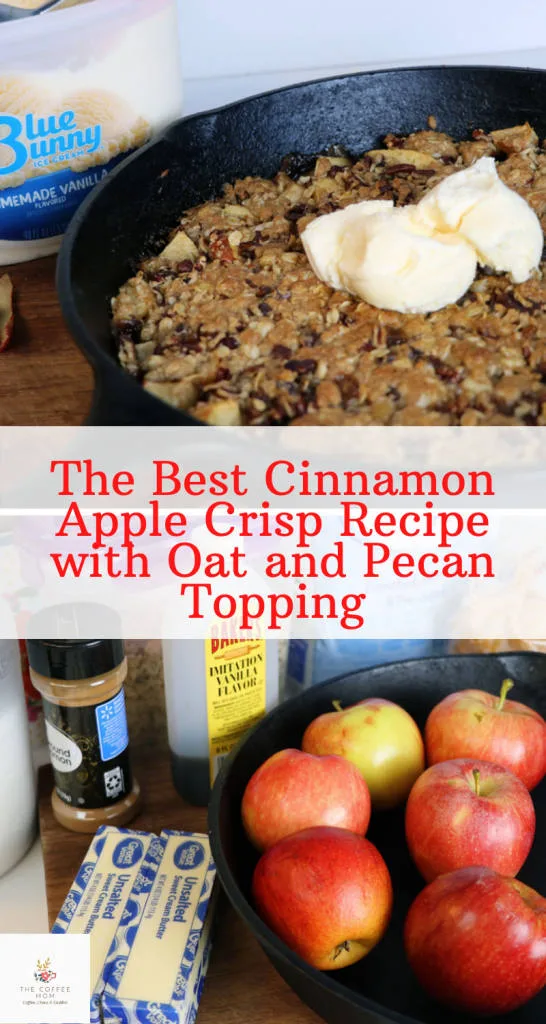
Want to make this over and over? Make sure you save the image below to Pinterest to keep this recipe handy!

Jessi is the creative mind behind The Coffee Mom, a popular blog that combines parenting advice, travel tips, and a love for all things Disney. As a trusted Disney influencer and passionate storyteller, Jessi’s authentic insights and relatable content resonate with readers worldwide.


Amanda
Sunday 7th of March 2021
Oh this is so right up my alley! Looks delicious. I’m saving it. Thanks for sharing
Jessi
Monday 8th of March 2021
Thank you! It has been a favorite easy dessert!