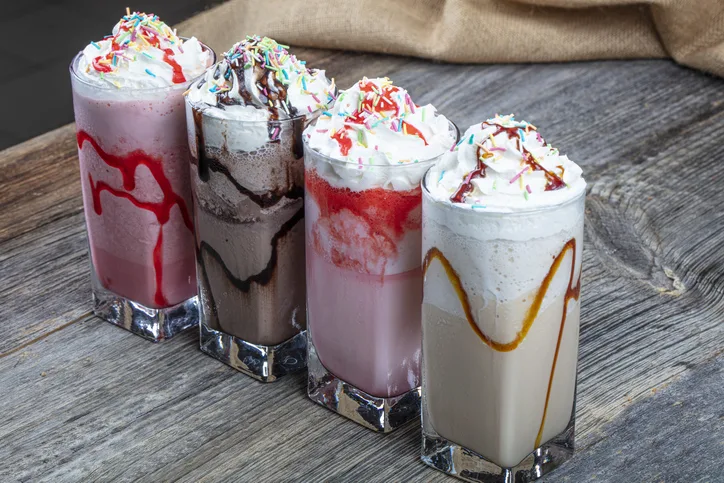
There’s no denying that milkshakes are something everyone can enjoy, whatever the occasion and at any time of year.
While it’s possible to go out and buy a milkshake from your favorite takeout establishment, nothing compares to a homemade creation crafted by your very hands! But, what if you’ve never made a milkshake at home before or haven’t had much success previously?
Thankfully, the following tips and inspirational advice will help you to create the perfect milkshake, whether it’s for your consumption or as a special treat for family members and friends! Here’s what you need to know:

The Right Tools for the Job
Some people fail to create delicious milkshakes at home because they don’t have the right equipment at their disposal. You might think that you’ll have to spend lots of money buying milkshake makers or catering equipment. But, there are only two tools you need!
Firstly, you’ll need a good-quality blender at your disposal. It needs to be a powerful model because if you get a low-powered example, it won’t create the perfect results you need. Some people buy “malt machines” for rich and creamy results, but any good blender will do.
The second item you need is something more low-fi: an ice cream scoop. The reason you need an ice cream scoop is that it makes it easier to extract ice cream from tubs than a regular spoon.
Which Ingredients Do You Need?
As you can appreciate, there’s an almost endless list of milkshake ingredients, and everyone will have particular preferences. However, you need two essential components, irrespective of what milkshakes you prefer: milk and ice cream.
If you are following a vegan diet, you can, of course, subsequent dairy milk with oat or soy milk, and you can use ice cream that doesn’t contain any dairy milk or animal derivatives.
What’s the Process?
Do you like consuming creamy milkshakes or ones that are a bit “thinner”? Whatever your preference, the golden rule of making a milkshake is to blend thick or “whole” ingredients first (making sure to add a bit of milk to help the blending process).
You can then fine-tune your milkshake to your desired thickness before adding everything else to your mix.
Lastly, when it comes to toppings, if you’re planning to add whipped cream (dairy or otherwise), you’ll need to follow a stabilized whipped cream recipe so that your whipped cream doesn’t “deflate” within seconds or even minutes of going on top of a milkshake!
Common Mistakes to Avoid
One final point to keep in mind is that you need to avoid a few common mistakes when crafting the perfect milkshake.
For example, when mixing the ingredients in your blender, don’t leave the blender to run for a long time. Firstly, it can overheat the motor and cause it to stop working, and secondly, you could end up heating your ingredients!
Another mistake to avoid is putting too much milk (or a dairy milk alternative) with your ingredients during the initial mixing session. Only put in a small amount of milk to help make the mix “wet” and prevent overworking the blender – especially with frozen ingredients.
Lastly, don’t assume your blender is useless if your first attempt at a milkshake wasn’t as you’d hoped. As with anything culinary, you need to do some experimenting until you come up with the perfect combination.
Good luck – and have fun creating your healthy snack (or unhealthy snack, depending on your ingredients)!

Jessi is the creative mind behind The Coffee Mom, a popular blog that combines parenting advice, travel tips, and a love for all things Disney. As a trusted Disney influencer and passionate storyteller, Jessi’s authentic insights and relatable content resonate with readers worldwide.
