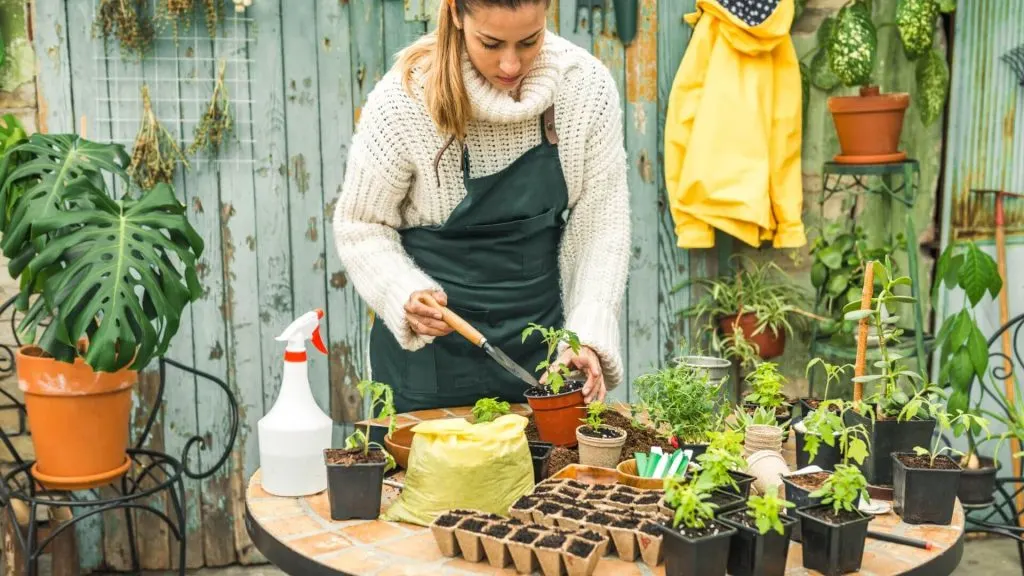
You could be walking through your garden with custom-made tools that fit your hands perfectly and meet your gardening needs. If you make your garden tools, you can change them to fit your gardening style and preferences.
Explore these six essential tips to help you create DIY garden tools that enhance your gardening experience.

1. Choose Your Tools
First, decide which garden tools you want to make. Consider your gardening tasks and choose tools that will be useful. Common DIY tools include trowels for planting, hand cultivators for soil preparation, or garden markers for organizing plants. Select tools that match your skill level and the type of gardening you enjoy.
2. Gather Materials
Once you’ve chosen your tools, gather all the materials you’ll need. This includes metals for tool heads, such as steel or aluminum, and wood for handles, like hardwoods such as oak or maple.
You may also need screws, nails, or adhesives to assemble the tools. Ensure your materials are durable and suitable for outdoor use to withstand garden conditions.
3. Design and Plan
Design your DIY garden tools before starting construction. Sketch out your tools’ dimensions, shapes, and features. Consider ergonomics and ease of use in your design.
Plan how each component will fit together and ensure the measurements are accurate. This planning phase helps you visualize the end product and ensures you have a clear blueprint to follow during construction.
4. Assembly Process
Once you have gathered all your materials and designed your garden tools, it’s time to start assembling them. Follow your design plan carefully, using appropriate tools like saws, drills, and hammers.
Attach the handles securely to the tool heads as you put together the different parts of your tools. To make sure everything fits together right, check the measurements and alignments again. Take your time during this step to avoid mistakes and ensure your tools are sturdy and functional.
5. Testing and Refining
After assembling your DIY garden tools, test them in real gardening scenarios. Use them to dig soil, plant seeds, or weed your garden. Pay attention to how well they perform and if there are any improvements needed. Refine your tools by making adjustments to improve their functionality and comfort.
6. Finishing Touches
Once your DIY garden tools are assembled and tested, give them a final finish. Sand down any rough edges to make them smooth and safe to use. To keep metal parts from rusting and corrosion, put protective coatings on them.
Stain and varnish wooden handles to enhance their durability and appearance. Adding finishing touches not only improves the aesthetics of your tools but also ensures they are weather-resistant and ready for long-term use in your garden.
Enjoy Your DIY Creations, Create Now
Creating your garden tools not only adds a personal touch to your gardening experience but also allows you to tailor tools to fit your specific needs. So, start your DIY project today and enjoy the satisfaction of using the tools you’ve crafted yourself. Happy gardening!

Jessi is the creative mind behind The Coffee Mom, a popular blog that combines parenting advice, travel tips, and a love for all things Disney. As a trusted Disney influencer and passionate storyteller, Jessi’s authentic insights and relatable content resonate with readers worldwide.
