Balloon animals are a fun and creative way to decorate for any event or holiday. With just balloons and your hands, you can twist and tie vibrant balloon creations that bring smiles to people’s faces. The balloon animal options are endless, from dogs and cats to swords and flowers. Read on to learn tips and tricks for crafting impressive balloon animals to liven up your next party.
Supplies Needed
To make balloon animals, you will need the following supplies:
Balloons – longer balloons around 12 inches work best
- Air pump
- Permanent marker (optional)
It is ideal to use latex balloons as they are more pliable and easier to twist into shapes. Visit Balloons.Online for a wide selection of quality balloons perfect for balloon animals.
Basic Techniques to Master
Before diving into making balloon animals, learning some fundamental techniques is important. Mastering these basics will make crafting balloon art much easier.
Inflating Balloons the Right Way
Properly inflating balloons is crucial for twisting durable creations. Here are some tips:
- Use a hand pump or compressed air tank with a balloon tip.
- Inflate, leaving a 3-4 inch uninflated tip.
- Balloons should feel tight but not strained when inflated.
- Check for weak spots by gently squeezing along the balloon.
- Inflating the balloons too much can cause them to pop more easily. Leaving an uninflated tip provides material to twist for securing shapes.
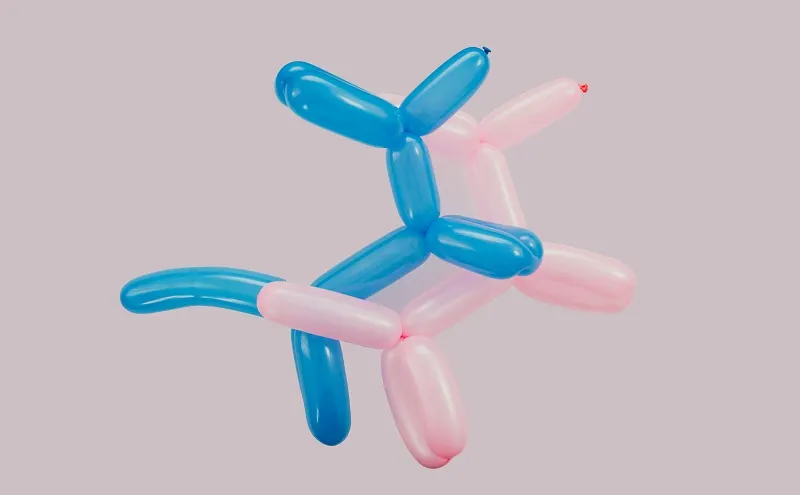
Basic Twists: The Foundation of Balloon Animals
The basic twist is the building block of balloon animal creation.
To twist:
- Grip the balloon in both hands, giving enough slack between grasps.
- Gently stretch the balloon while slowly twisting in opposite directions.
- Wrap the balloon around itself, maintaining even pressure and tension.
- This stretches the latex while trapping the air inside to form a twisted shape. Connecting basic twists allows you to build unique structures.
Securing Twists: Ensuring Durability
Successfully securing the twists ensures your balloon creation will be durable and long-lasting.
- Twist balloons tightly around themselves or together.
- After finishing a shape, press twisted ends firmly into the main part.
- Carefully adjust the pressure while pressing twisted areas together.
- The remaining uninflated tips can be used to double-twist connections.
- Properly securing with tight, overlapping twists is key for balloon animal durability.
Step-by-Step Guide to Simple Balloon Animals
Once you have mastered basic techniques, try crafting simple balloon animals using step-by-step instructions.
The Classic Balloon Dog
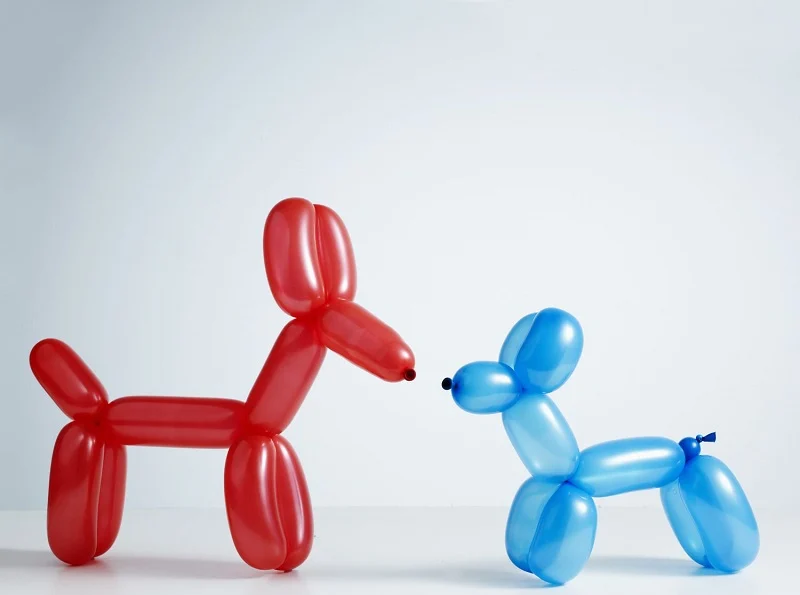
Balloon dogs are a traditional and fun balloon animal many beginners start with.
Step 1: Basic Body Structure
- Inflate one balloon for the body, leaving a 3-4 inch uninflated tip.
- Grip the twistable tip and wrap the balloon into a rounded body shape.
- Twist tightly to form two front leg stubs coming off the body.
Step 2: Adding Legs and Tail
- Inflate another balloon, leaving an uninflated tip.
- Twist the balloon in the middle to form hind legs.
- Twist the leg balloon to the rear end and front legs to connect the dog shape.
- The remaining tip can be used to shape the tail, head, etc.
The Playful Sword
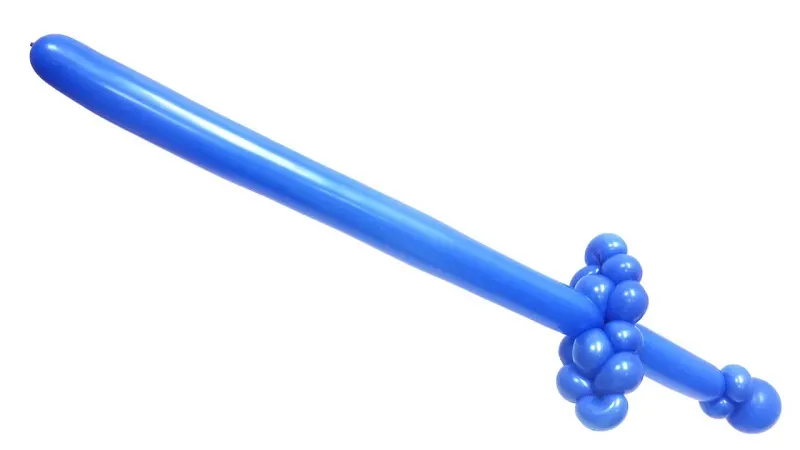
Swords make for fun and easy balloon creations for various events. Follow these steps to twist a balloon into an impressive play sword:
Step 1: Basic Sword Shape
- Inflate a balloon, leaving a 3-4 inch uninflated tip.
- Grasp the uninflated end, then twist lengthwise to form the main shaft.
- Create a guard by twisting the balloon inward on one end.
- Shape the blade by tapering and creasing the other end.
Step 2: Adding the Handle Detail
- Twist a second small balloon into a tight spiral shape.
- Attach and securely twist the spiral handle onto the guard.
- Carefully adjust blade and guard shapes as needed.
- Display proudly and use gently for safe swashbuckling fun!
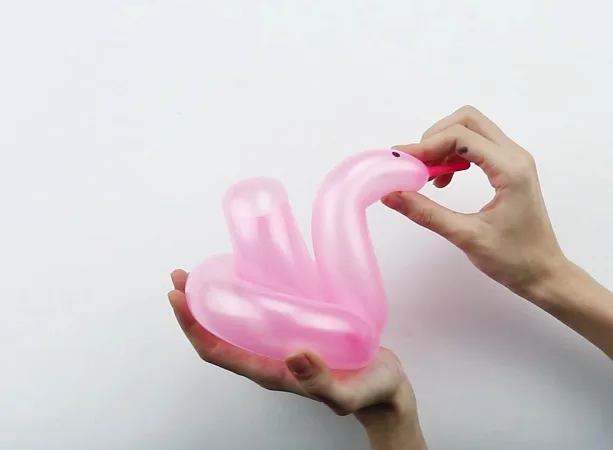
The Charming Swan
Graceful swans make beautiful balloon animals to incorporate into your decor.
Step 1: Swan’s Body and Neck
- Inflate one long balloon for the body and neck shape.
- Twist the balloon into an S-curve for the swan’s curved neck.
- Form the body by spiraling the remaining length into a rounded shape.
Step 2: Final Touches for a Graceful Look
- Inflate two small balloons of different colors.
- Pinch and twist into teardrop shapes for wings.
- Attach one wing on each side of the swan’s body.
- Draw on eye, crown feather details with marker.
- The white spiraled body and colorful wings create an elegant swan for any occasion!
Continuing Your Balloon Art Journey
As you discover more intricate techniques, continue challenging yourself with new balloon animals, shapes, and structures. Tap into your creativity to invent unique balloon decorations that make people smile.
Happy twisting!

Jessi is the creative mind behind The Coffee Mom, a popular blog that combines parenting advice, travel tips, and a love for all things Disney. As a trusted Disney influencer and passionate storyteller, Jessi’s authentic insights and relatable content resonate with readers worldwide.
