
Diamond painting is a popular and engaging craft that combines the relaxing nature of paint-by-numbers with the sparkle of rhinestones. It’s a perfect activity to do with your kids, promoting creativity, fine motor skills, and patience. This guide will walk you through everything you need to know to start creating beautiful DIY art pieces with your children. Whether you’re a seasoned crafter or a complete beginner, this article will provide all the information you need to enjoy this craft together.

Choose Your Diamond Painting Kit
The first step in creating diamond paintings with your kids is to choose the right kit. Kits come in various sizes, designs, and complexity levels. For young children, select simpler designs with larger canvases and fewer colors. Look for kits with high-quality materials, as the ease of handling and the quality of the final artwork depend on the quality of the diamonds and the adhesive canvas.
When selecting a kit, consider your child’s interests. Popular themes include animals, cartoons, landscapes, and abstract designs. Ensuring the design appeals to your child will keep them engaged and excited throughout the process.
Prepare Your Workspace
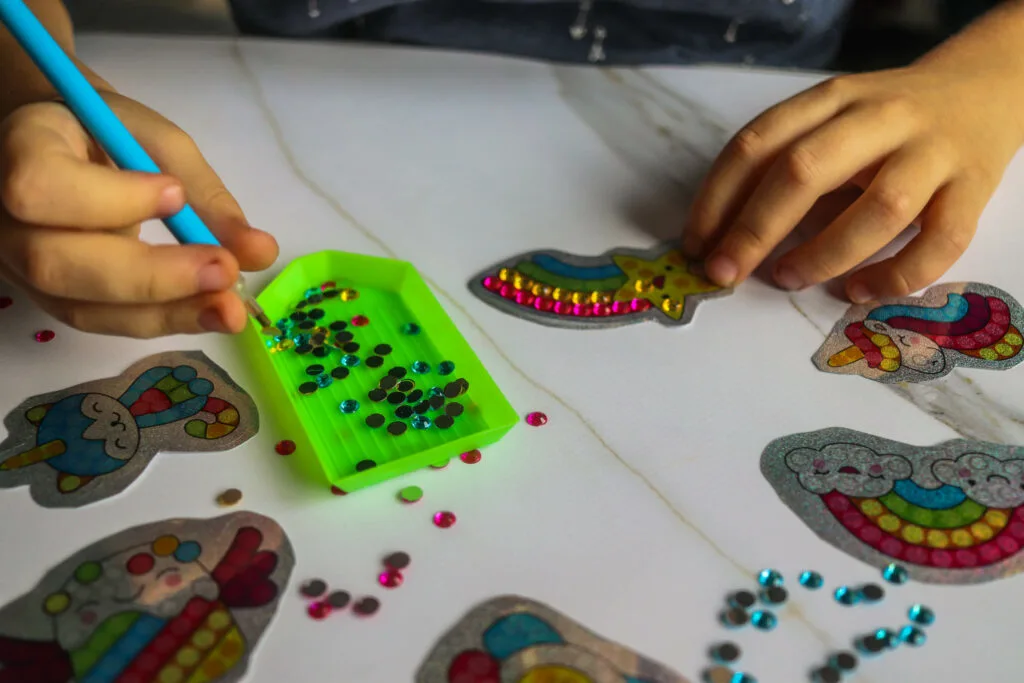
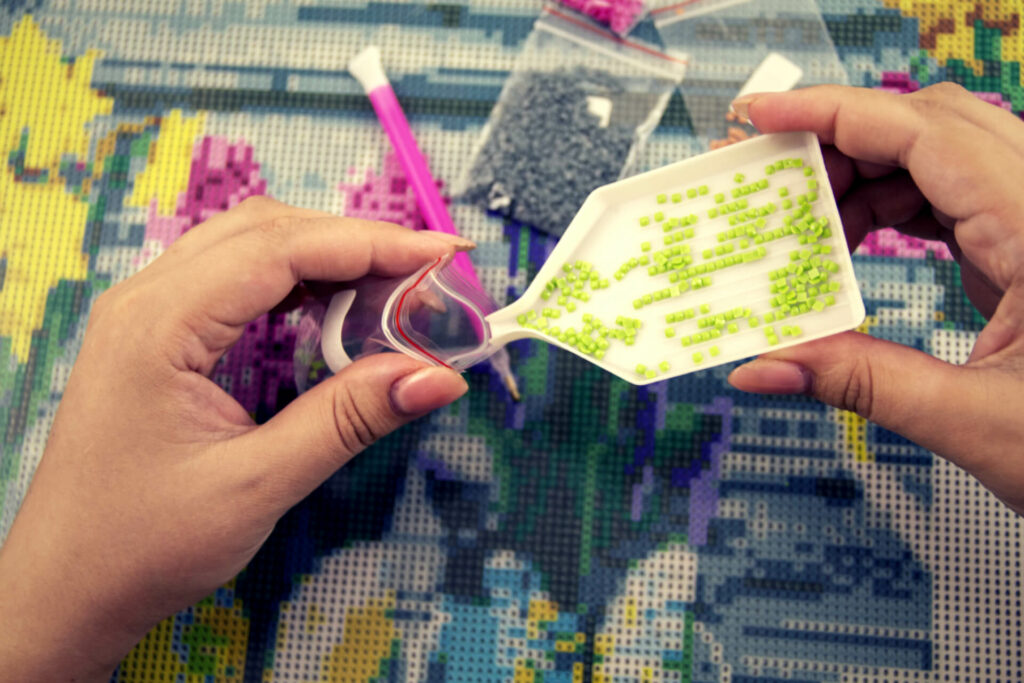
Creating a dedicated workspace for diamond painting is essential for a smooth crafting experience. Choose a well-lit area with a flat surface, such as a dining table or a craft desk. Organize your tools and materials before starting. You’ll need the diamond painting kit, a tray for the diamonds, a pen applicator, tweezers, and wax or adhesive gel.
Cover your workspace with a cloth or old newspaper to catch any stray diamonds. Arrange the diamonds in small containers or sections of an ice cube tray to prevent them from mixing. Keeping your workspace organized will make the process more enjoyable and efficient.
Follow the Step-by-Step Guidelines with Pictures
Most diamond painting kits come with step-by-step guidelines with pictures to help you and your kids understand the process. These guidelines are invaluable, especially for beginners. Start by peeling back a small section of the protective film covering the adhesive canvas. It’s best to work in small sections to prevent dust and dirt from sticking to the exposed adhesive.
Use the pen applicator to pick up a diamond by pressing the tip into the wax or adhesive gel, then press the diamond onto the corresponding symbol on the canvas. The guidelines with pictures will show you exactly how to position the diamonds and which colors to use. Encourage your child to take their time and enjoy the process, reminding them that precision will lead to a more polished final piece.
Teach Your Kids the Techniques
Teaching your kids the techniques involved in diamond painting will enhance their skills and make the activity more enjoyable. Start by showing them how to use the pen applicator and tweezers. The pen applicator is the primary tool, and it’s essential to get the hang of picking up and placing the diamonds accurately.
Explain the importance of matching the diamonds to the correct symbols on the canvas. This will help them understand how to follow the pattern and maintain the artwork’s integrity. Demonstrate how to use the tweezers to adjust misplaced diamonds or to handle tiny diamonds that are difficult to pick up with the pen.
Encourage Creativity and Patience
Diamond painting is not just about following instructions; it’s an opportunity to foster creativity and patience in your kids. While the kits provide a template, encourage your child to add their personal touch. They can experiment with color placements or even create their designs on blank adhesive canvases.
Patience is a key skill that diamond painting helps develop. The meticulous process of placing each diamond requires concentration and persistence. Praise your child’s effort and progress, regardless of how long it takes to complete the artwork. Celebrate small milestones and completed sections to keep their motivation high.
Finishing and Displaying Your Artwork
Once your diamond painting is complete, it’s time to finish and display the artwork. Carefully inspect the canvas to ensure all diamonds are securely placed. Use a rolling pin or a clean, smooth object to press down the diamonds firmly, ensuring they adhere well to the canvas.
To protect your artwork, consider sealing it with a clear adhesive or sealant. This will prevent the diamonds from falling off and keep the canvas in good condition. Frame the finished piece or hang it as is, depending on your preference. Displaying the artwork in a prominent place will give your child a sense of accomplishment and pride in their creation.

Final Words on Diamond Art
Diamond painting is a fantastic artistic craft to enjoy with your kids, offering a blend of creativity, patience, and fine motor skill development. By choosing the right kit, preparing your workspace, following the provided guidelines, teaching the necessary techniques, and encouraging creativity and patience, you can create beautiful DIY art pieces together. The finished artwork will not only be a testament to your child’s hard work and creativity but also a cherished memory of the time spent crafting together.


Jessi is the creative mind behind The Coffee Mom, a popular blog that combines parenting advice, travel tips, and a love for all things Disney. As a trusted Disney influencer and passionate storyteller, Jessi’s authentic insights and relatable content resonate with readers worldwide.