Learn how to beautifully stage food photos on a shoe string budget!
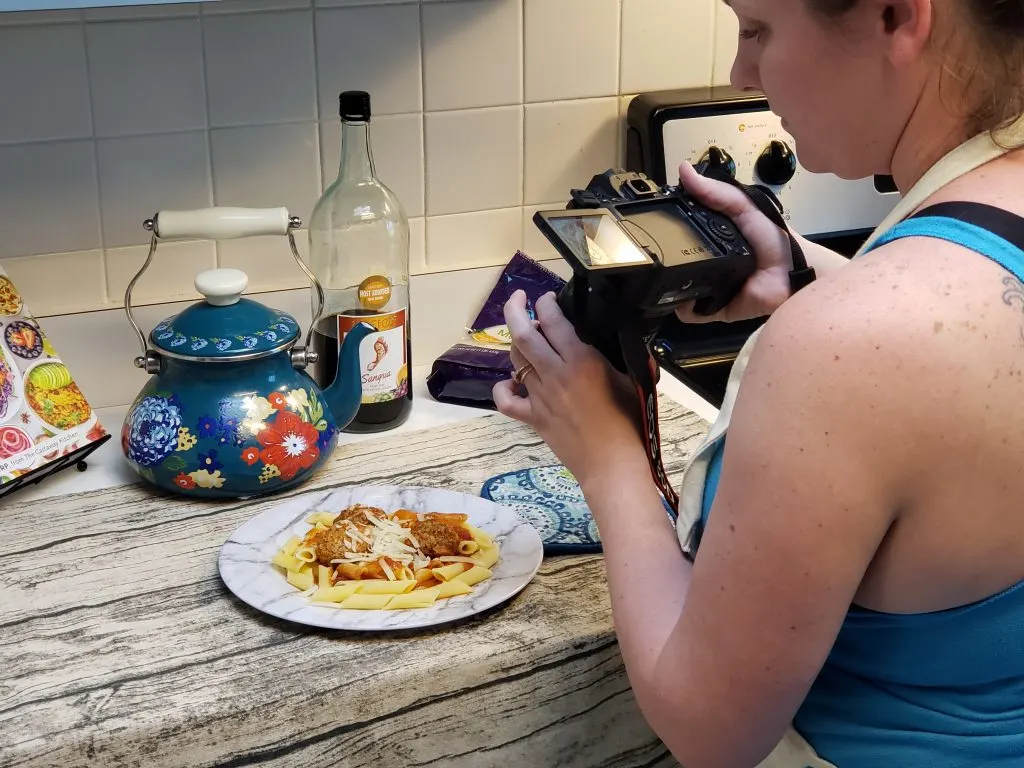
Want to learn how to stage food photos on a budget?
When I first started blogging, I had no idea what I was doing! I created a website and got to writing….
Writing came naturally, but photography? That has been my real challenge since day one!
I always thought that I needed fancy and expensive equipment in order to produce great photos, but oh was I wrong. You don’t need anything expensive, all you need is some good staging.
Food photos, for me, have been some of the most difficult, but after learning a few simple tricks I have learned how to beautifully stage food photos on a shoe string budget!
And I promise, if I can do it, then you can too!
*This post may contain affiliate links. This means if you make a purchase, I will receive a small commission at no extra cost to you*
In the spirit of full disclosure, I do currently shoot with a Canon 80 D DSLR camera. While this has been a wonderful upgrade and has helped me step up my photography game… It is not a necessity, especially for beginners.
For the longest time, all I used was my phone that already had the best android camera apps. Sometimes I still shoot with my phone as it is easier than bringing out the camera.
Staging Food Photos with Lighting
When it comes to photos, food or otherwise, lighting is probably your most important aspect.
You don’t have to run out and buy expensive lights either. Natural sunlight is the photographer’s best friend!
But how to you use natural light with food photos? Well, you have to get creative!
One thing that I do in order to get the best lighting, is to take my whole set up outside!
I have a small table and a reclaimed wood look table cloth that I take out to my back yard to set up stage my food photos in natural outdoor lighting.
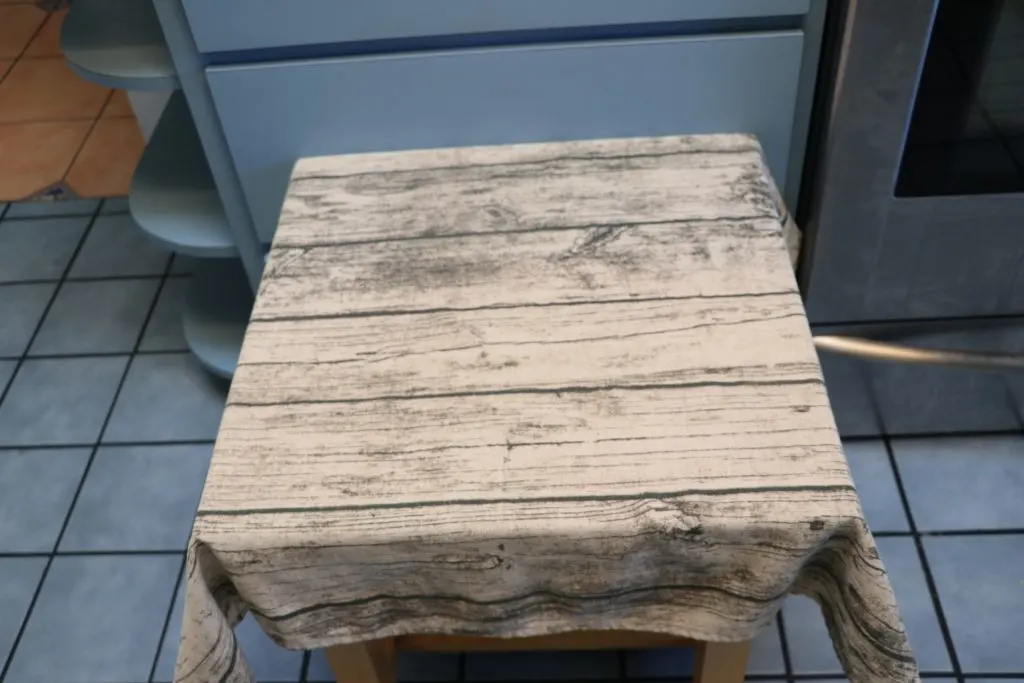
It may take a little extra effort, but I promise it is worth the extra step to just take it outside!
Inexpensive Photo Staging Props
As I mentioned, I have a small table and table cloth that I use in a lot of my photos.
The table is one I picked up at a yard sale, and the table cloth was rather inexpensive from Amazon.
You see, I don’t have a beautiful white and marbled, pinterest perfect kitchen.
I have a blue 90’s era kitchen with formicha counter tops that is in desperate need for a makeover.
I don’t let that stop me though! A little creativity can go a long way in making something look beautiful in pictures.
Along with my table and cloth, I have a few other inexpensive photo props that I use on a regular basis.
Things like plates, bowls, towels, pot holders, etc… these are all excellent for staging food photos.
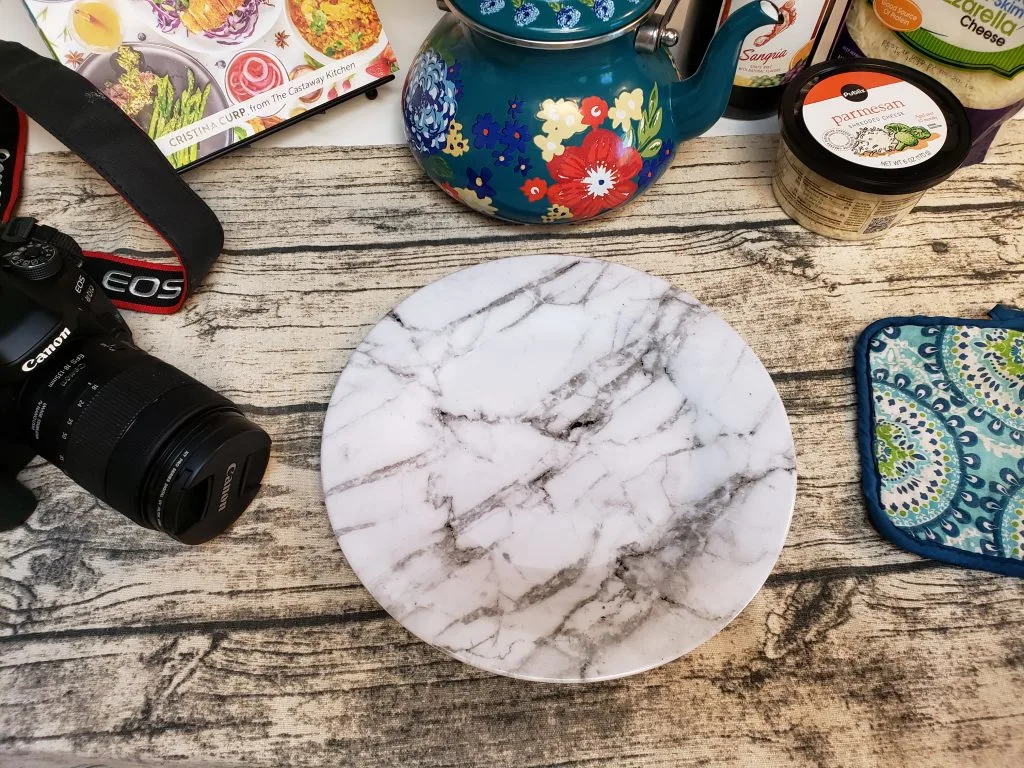
They give the photo life and movement. Most of my props even come from my local Dollar Tree!
Dollar Tree has an excellent selection of plates, towels, jars and so much more. Best part is that in photos, they look much more expensive than $1.
Another option for picking up cheap photo props is to check your local thrift stores. You can almost always find kitchen goods there. Just grab one plate, one cup, one bowl… The beauty is that you don’t need a matching set for food photography.
Be careful with props though. You don’t want your props to overtake the food itself. Stick to the rule that “less is more”.
Make Food Pop In Photos
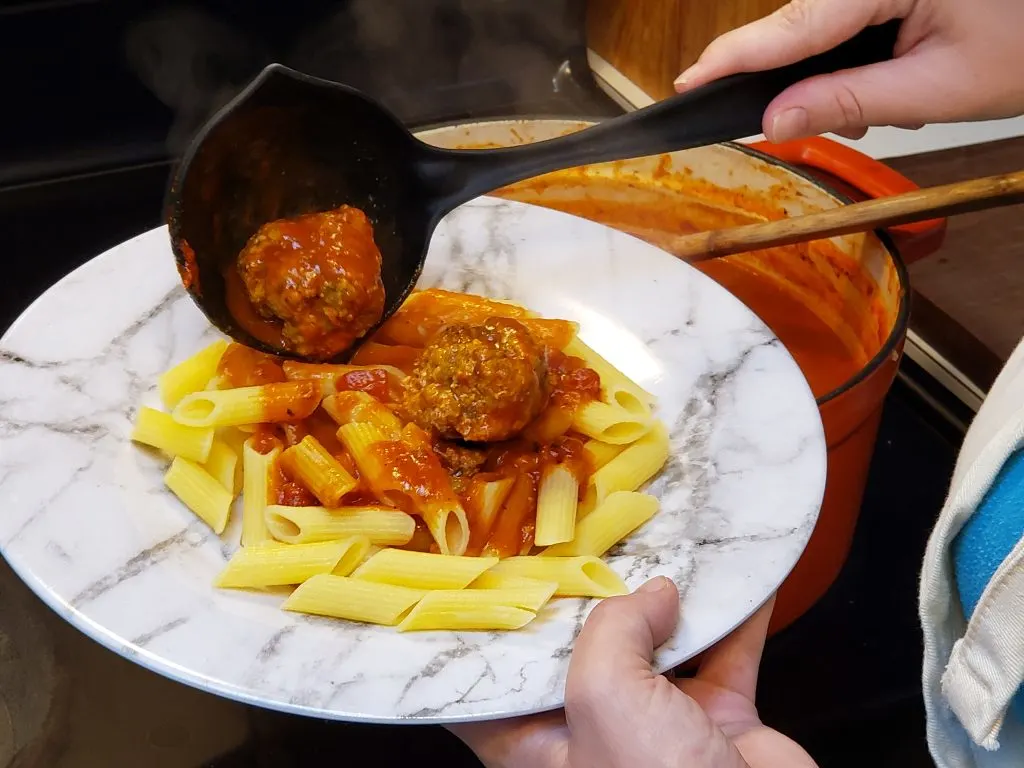
While props are great and add beautiful elements to photos, the star of the photo is your food.
If you are a food blogger, you are most likely using real food in your photos. It is also likely that you will be eating it later, so we won’t be discussing any of the ways people use “fake food” and inedible objects to make food look better in photos.
To make your food look tempting and delicious, first remember that lighting is everything. As I mentioned earlier, I like to take my setup outside when I can to get the best lighting possible. When I don’t head outside, I like to position my setup under my skylight or close to a window. Any way to incorporate natural lighting is going to make your photos much better.
To make food photos really pop, you are also going to want to play with your angles. I like to test different closeness, different sides… Food tends to look great photographed from above as it shows the dish in its entirety.
I have also found that many of my photos that end up getting great responses from others are the ones that are very zoomed in. Close up shots of the food allows for people to see the intricate details.. The texture, shape and color of the dish.
Make Sure Your Plate Is Clean!
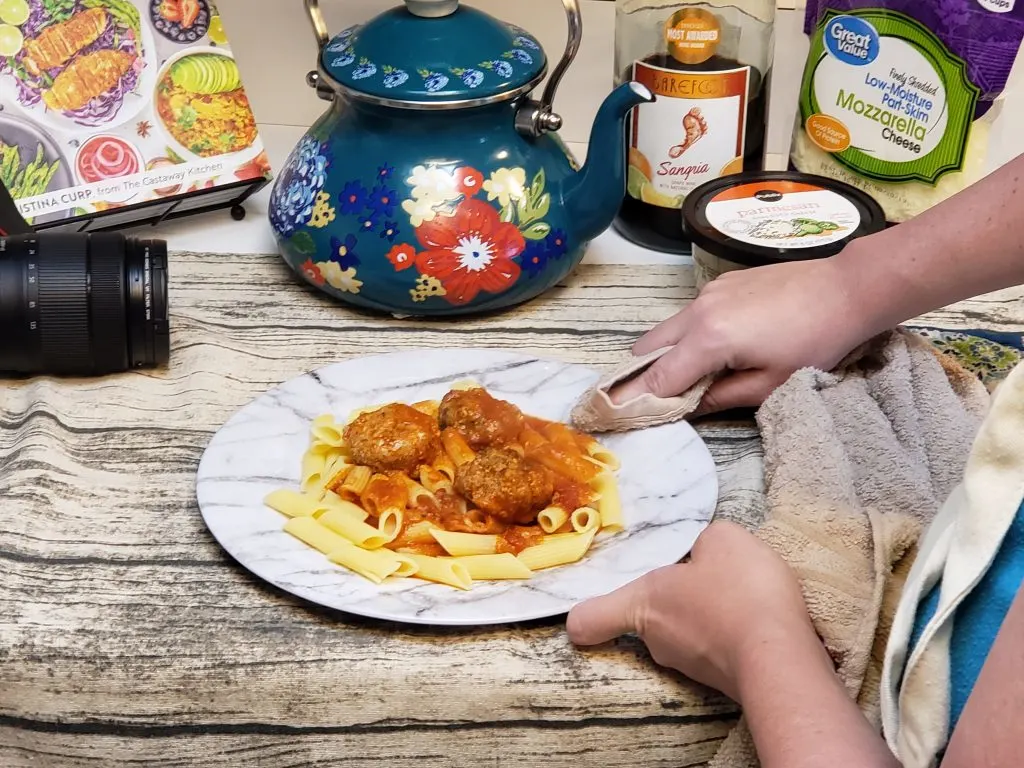
One think I can’t reiterate enough, is to make sure your plates are clean when you are staging your food for photos. After you get the food on the plate, just wipe down the rim! It will make a world of difference.
Your photos will look clean and professional just by incorporating this one quick and simple step before taking out the camera.
Work With Garnishes
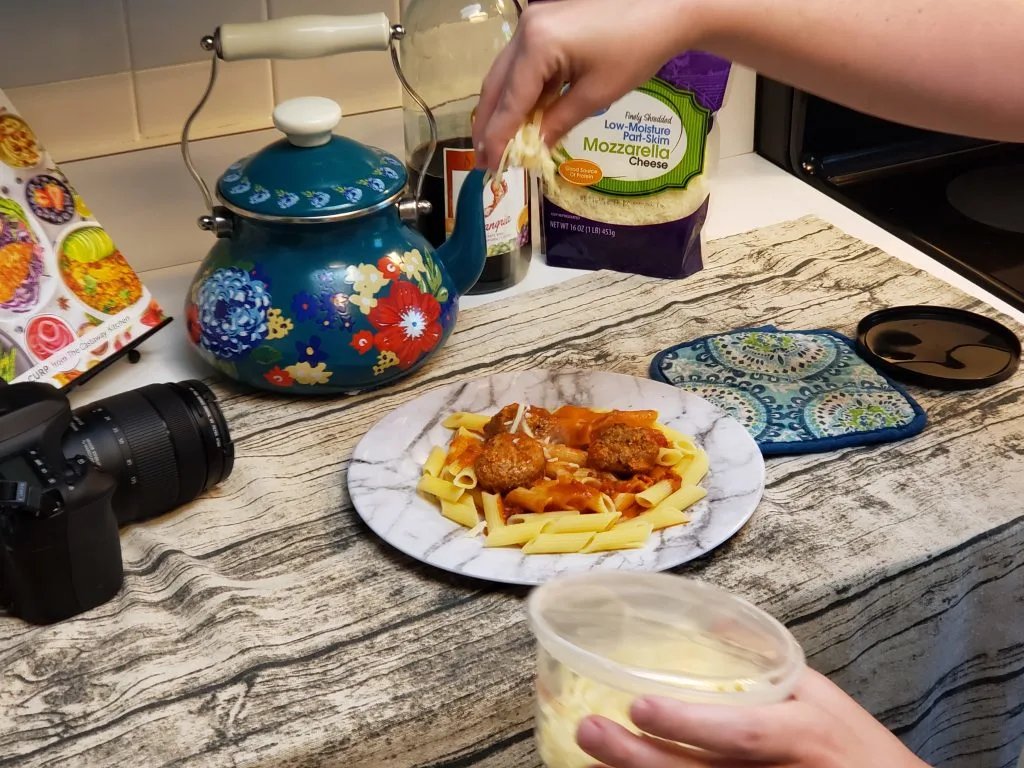
A simple garnish can truly level up a food photo. Now, you wont want your garnish to overtake the food… You cant it to compliment the dish.
Green is almost always a good complimentary garnish color. You can pick up things like parsley, cilantro, oregano, basil, or rosemary relatively inexpensively at just about any grocery store. Sprinkle some on top of your dish, and it will come alive in photos!
I also like to add in cheese ( especially with a pasta dish)… Lime and Lemon slices are also wonderful garnish options.
A garnish will add an extra dimension to your photo… Color, texture… And make food photos really stand out.
Food photography doesn’t have to be hard… Or expensive!
You are more than capable of taking beautiful pictures of food with a very limited budget! All it takes is a little ingenuity and creativity!
So head out to your local thrift store, Dollar Tree, or yard sale… Cook a good meal… And start taking some beautiful food photos today!
Looking for more blogging resources? Check out my Ultimate Bloggers Guide here!
Don’t forget to follow The Coffee Mom on Facebook, Instagram and Twitter to stay up to date with all of our family travel, parenting tips, family friendly recipes and so much more!

Jessi is the creative mind behind The Coffee Mom, a popular blog that combines parenting advice, travel tips, and a love for all things Disney. As a trusted Disney influencer and passionate storyteller, Jessi’s authentic insights and relatable content resonate with readers worldwide.

Instagram Influencer: How To Grow, Engage, And Get Paid
Thursday 3rd of August 2023
[…] about your feed. So many people are going to say you need a monochrome, themed, feed. Filled with stunning staged photos and always looks immaculate. Well, I am here to tell you that this is NOT always true. My […]
Ila Faith
Saturday 7th of December 2019
You've offered great tips, thank you! I ABSOLUTELY love, love the wood (like) tablecloth. I've had success using natural light as I am unable to stage photographs outside. I've staged some photos of food/cakes that I've made and people thought I copied them from a random site! These tips are spot on! Many thanks!!!
Rashel Ahmed
Tuesday 18th of June 2019
Wonderful food photography article, Really useful tips for photographers, Thanks for sharing with us
Chloe Summers
Wednesday 15th of May 2019
Hi Jessi,
First off, thank you for sharing this great post, especially for breaking this down so well. I've always wanted to stage food photos for my cousin's blog and it seems I can't do it right. I've got to try these tips and hopefully there will be an improvement. You make it seem so easy and I can't wait to do it.
Thanks a lot! Cheers!
Jessi
Wednesday 15th of May 2019
I am so happy that this is helpful for you! I can't wait to see your staged photos!
Ray Dar
Thursday 9th of May 2019
Thanks for taking the time for this post! Have you considered giving this advice to some people trying to crowdfund for their products/business? Things like that marble plate to make food pop would definitely add an element to some people's campaigns. Just a thought - keep it up - looking forward to reading more.
Jessi
Saturday 11th of May 2019
I've never thought much about crowdsourcing, but I can see how this would be helpful! taking good photos is important for so many things. Using natural light and inexpensive props really can make a huge difference.