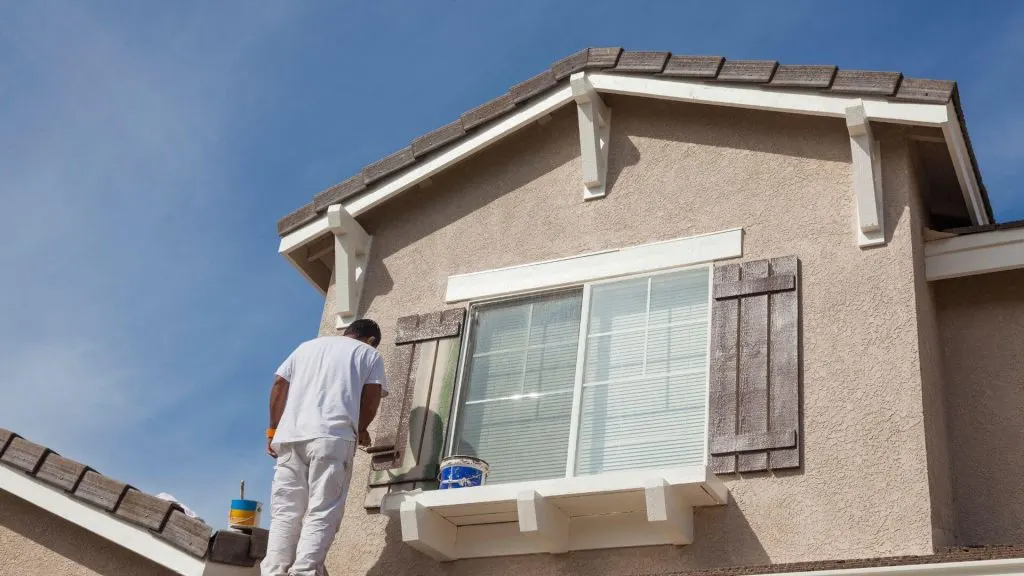
According to a survey by the National Association of Home Builders, approximately 70% of homeowners have undertaken some form of DIY home improvement, with painting being one of the most popular projects. This DIY approach not only allows homeowners to take control of their home aesthetic, but it can also result in significant cost savings. For instance, HomeAdvisor reports that hiring a professional painter can cost between $1,714 and $3,682, while DIY painting can significantly reduce these costs. Whether you’re a novice looking to undertake your first project or an experienced DIY enthusiast seeking to refine your skills, this guide is designed to walk you through every step of the painting process, ensuring a result that is both satisfying and visually stunning.

Tackling the Basic Terminology
You have to know your way around the different types of paint finishes, common painting tools, and techniques used before you can start painting your home. Do you know the difference between satin and eggshell finish? What is the correct way to use a roller or brush? These are just some of the basic terminologies that every DIY painter should familiarize themselves with before embarking on a project. A large portion of technical painting terms are based on the type of paint finish, such as matte, eggshell, satin, semi-gloss, and high-gloss. Each of these finishes has its own unique characteristics and applications that can affect the overall look and durability of your paint job.
Understanding Paint Types
Know the difference between oil-based and water-based paints, as well as when and where to use each. Oil-based paints, also known as alkyd paints, are known for their durability and resistance to moisture, making them ideal for high-traffic areas like kitchens and bathrooms. On the other hand, water-based paints, such as latex or acrylic paints, are easier to clean up and have lower VOC (volatile organic compound) levels, making them more environmentally friendly. Knowing which type of paint to use is crucial for a successful DIY painting project. Furthermore, understanding the different sheen levels of paint, such as flat, eggshell, and glossy, can help you achieve your desired look and functionality.
Priming the Walls
Learn why priming is essential and how to do it properly to ensure an even, long-lasting finish. Priming provides a smooth and consistent base for the paint to adhere to, as well as seals in any imperfections on the walls. It also helps prevent stains or discoloration from coming through the new coat of paint. The type of primer you use will depend on the surface you are painting on, so make sure to select the appropriate one for your project. In addition, applying primer can also save you money on paint, as it helps the paint go further and prevents the need for multiple coats.
Choosing the Right Brushes and Rollers
It’s not all about the paint – using the correct tools can significantly impact the final look of your walls. When it comes to brushes, there are three main types – natural bristle, synthetic, and foam. Natural bristle brushes are best for oil-based paints, while synthetic brushes work well with water-based paints. Foam brushes are ideal for smooth surfaces and touch-ups. As for rollers, the size and nap (length of the fibers) can affect the texture of your paint job. For instance, a larger nap is better suited for textured walls, while a smaller one is ideal for smooth surfaces.
Techniques for Painting
Master the techniques of painting, such as the ‘W’ technique, to avoid visible brush strokes and uneven paint distribution. For instance, when using a roller, start by painting the edges of the wall, then fill in the middle with a ‘W’ pattern, and finally blend the strokes together. This method ensures an even coverage and prevents patchiness. Another essential technique is to always paint from top to bottom and left to right for a consistent finish. If you’re painting multiple coats, make sure to let each layer dry completely before applying the next for a smooth and professional-looking result.

Safety Measures
Understand the importance of safety measures – from properly ventilating your workspace to using the right protective gear. Paint fumes can be harmful, so make sure to open windows and use fans while painting. Also, wear gloves, a mask, and protective eyewear to avoid contact with chemicals or inhaling paint particles. Don’t forget to cover furniture and floors with drop cloths or plastic sheeting to prevent any damage from spills or splatters. From start to finish, prioritizing safety measures is crucial for both you and your home.
With the right knowledge, tools, and techniques, you can achieve professional-looking results without breaking the bank. So whether you’re looking to update a room or give your entire home a fresh look, this ultimate guide has got you covered from start to finish. Remember to always put safety first and take your time to ensure a flawless and satisfying end result. With the right preparation, techniques, and safety measures in place, you can achieve impressive results that will elevate the look of your home.

Jessi is the creative mind behind The Coffee Mom, a popular blog that combines parenting advice, travel tips, and a love for all things Disney. As a trusted Disney influencer and passionate storyteller, Jessi’s authentic insights and relatable content resonate with readers worldwide.

Airbnb Decorating Ideas That Attract More Bookings
Thursday 18th of July 2024
[…] your crafty side! Create unique artwork, upcycle old furniture with a fresh coat of paint, or repurpose items for new uses. DIY projects add a personal touch to your Airbnb and showcase […]